Steam punk PL

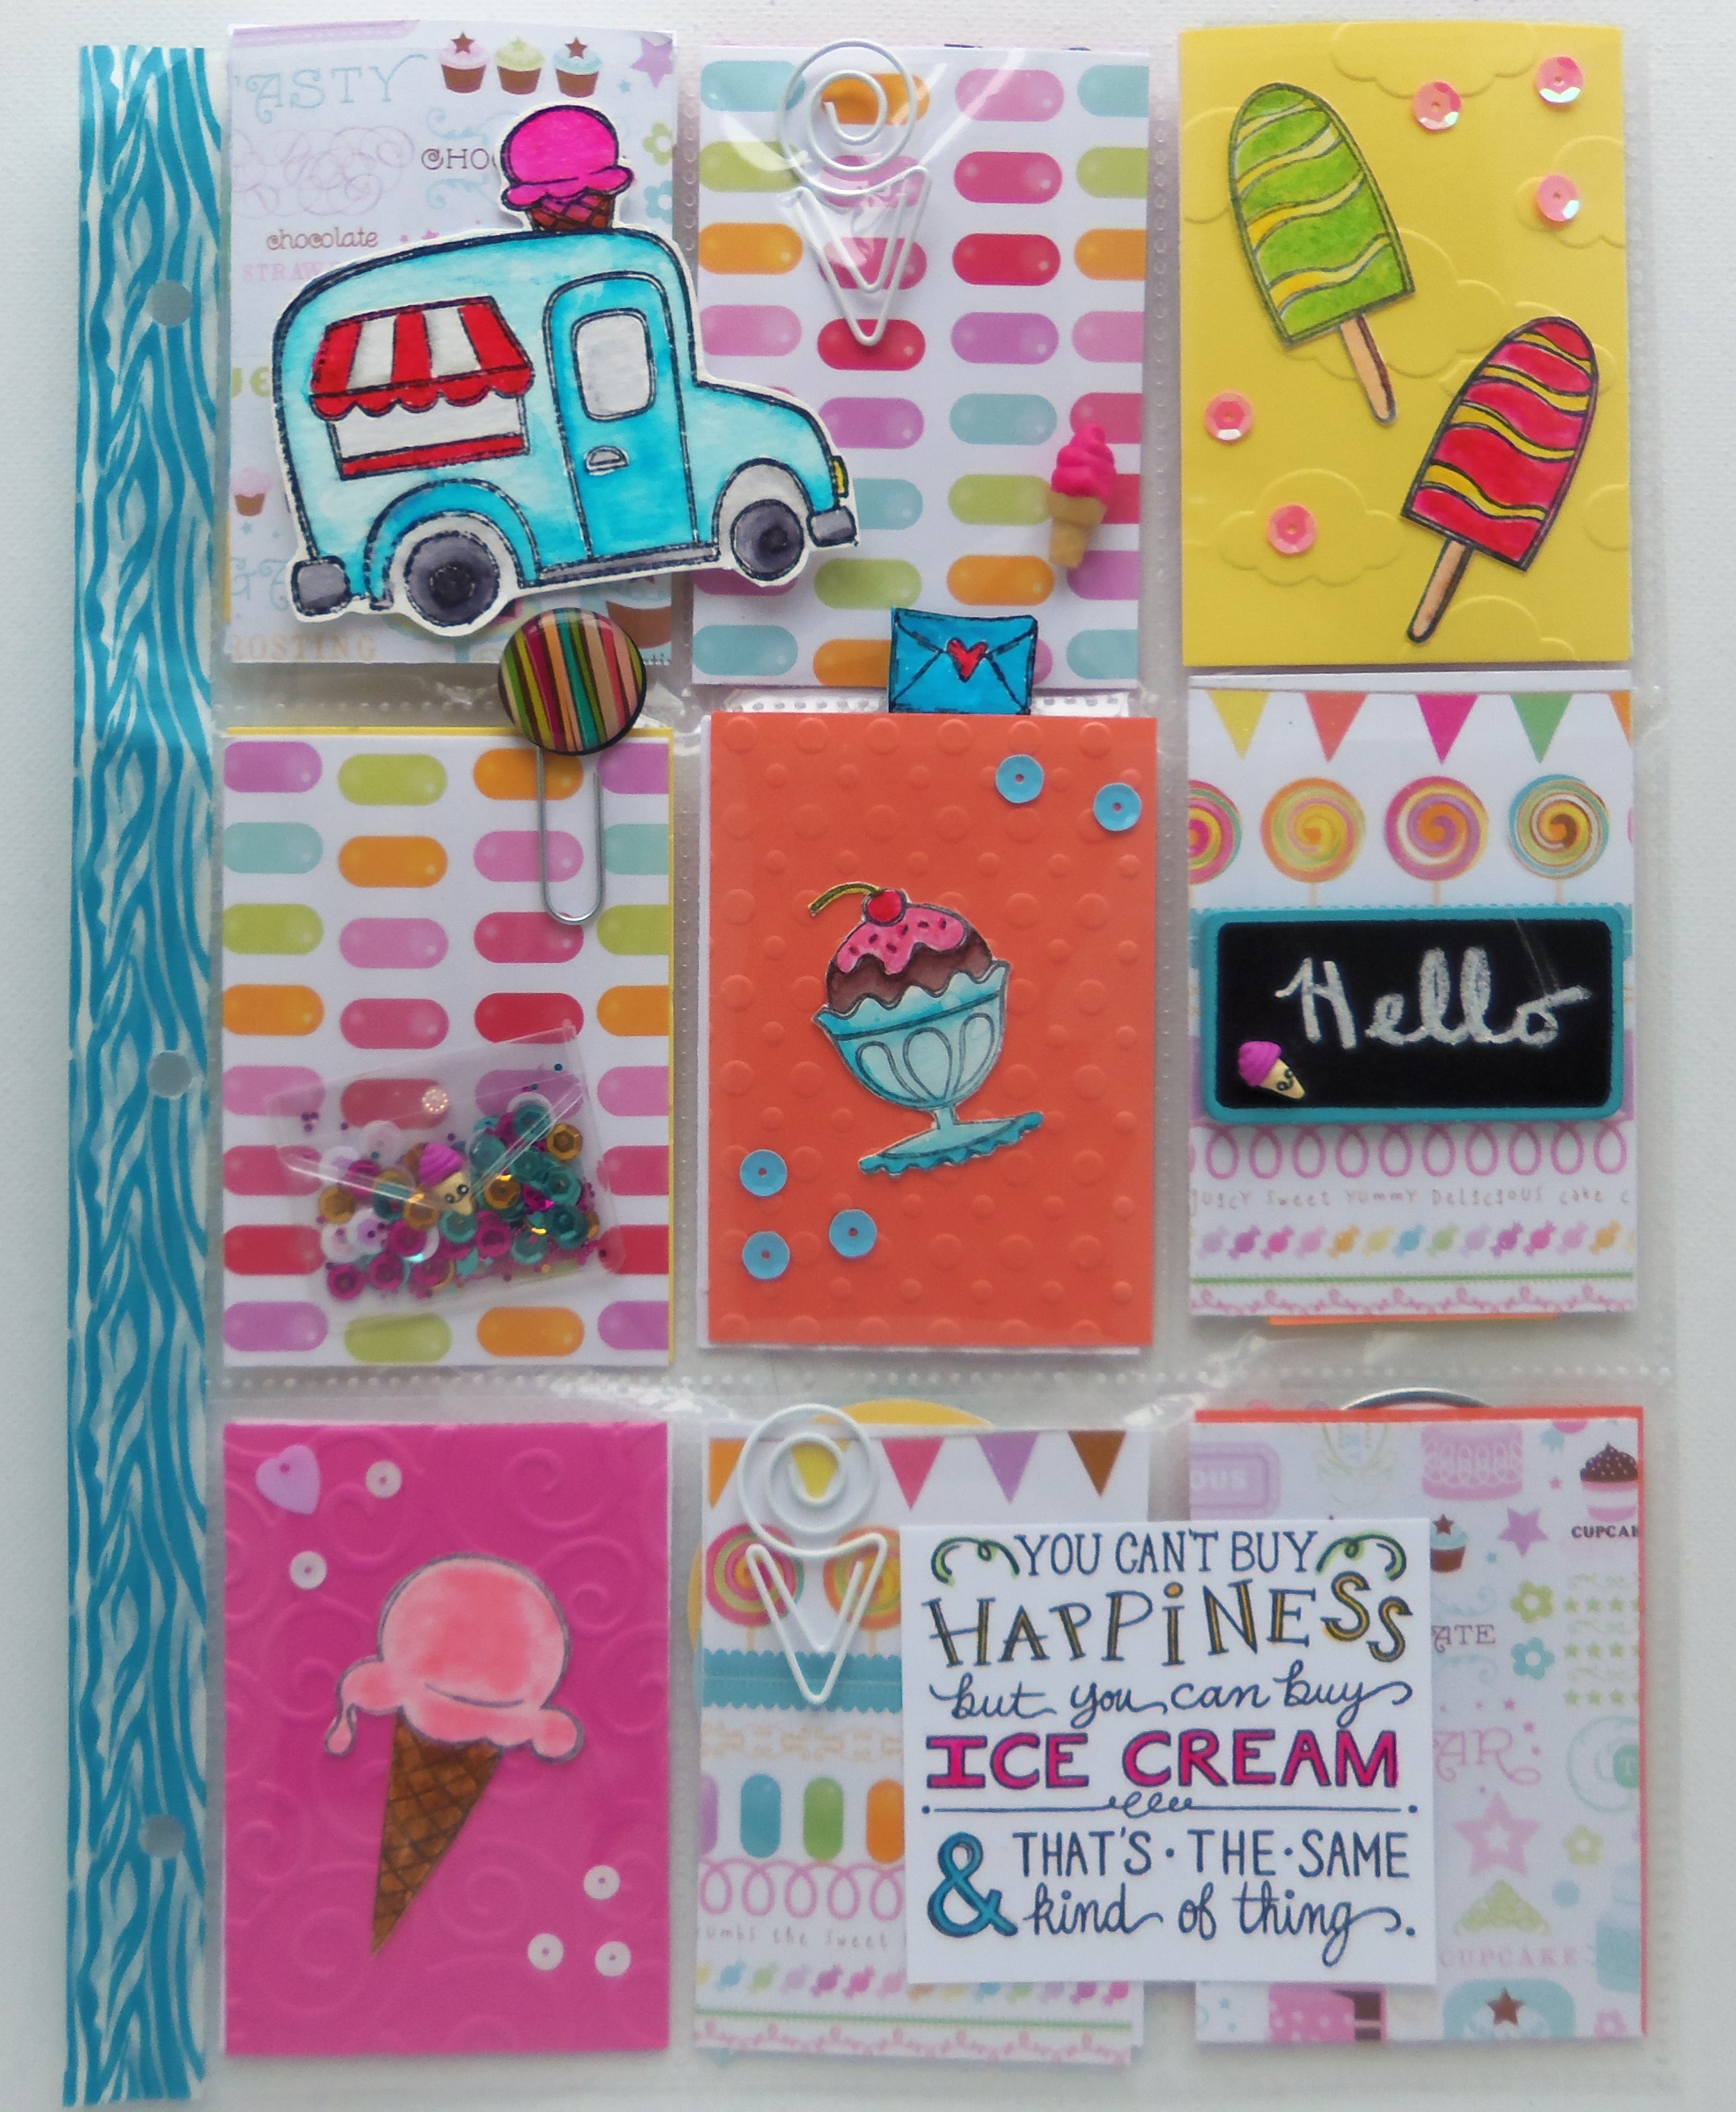
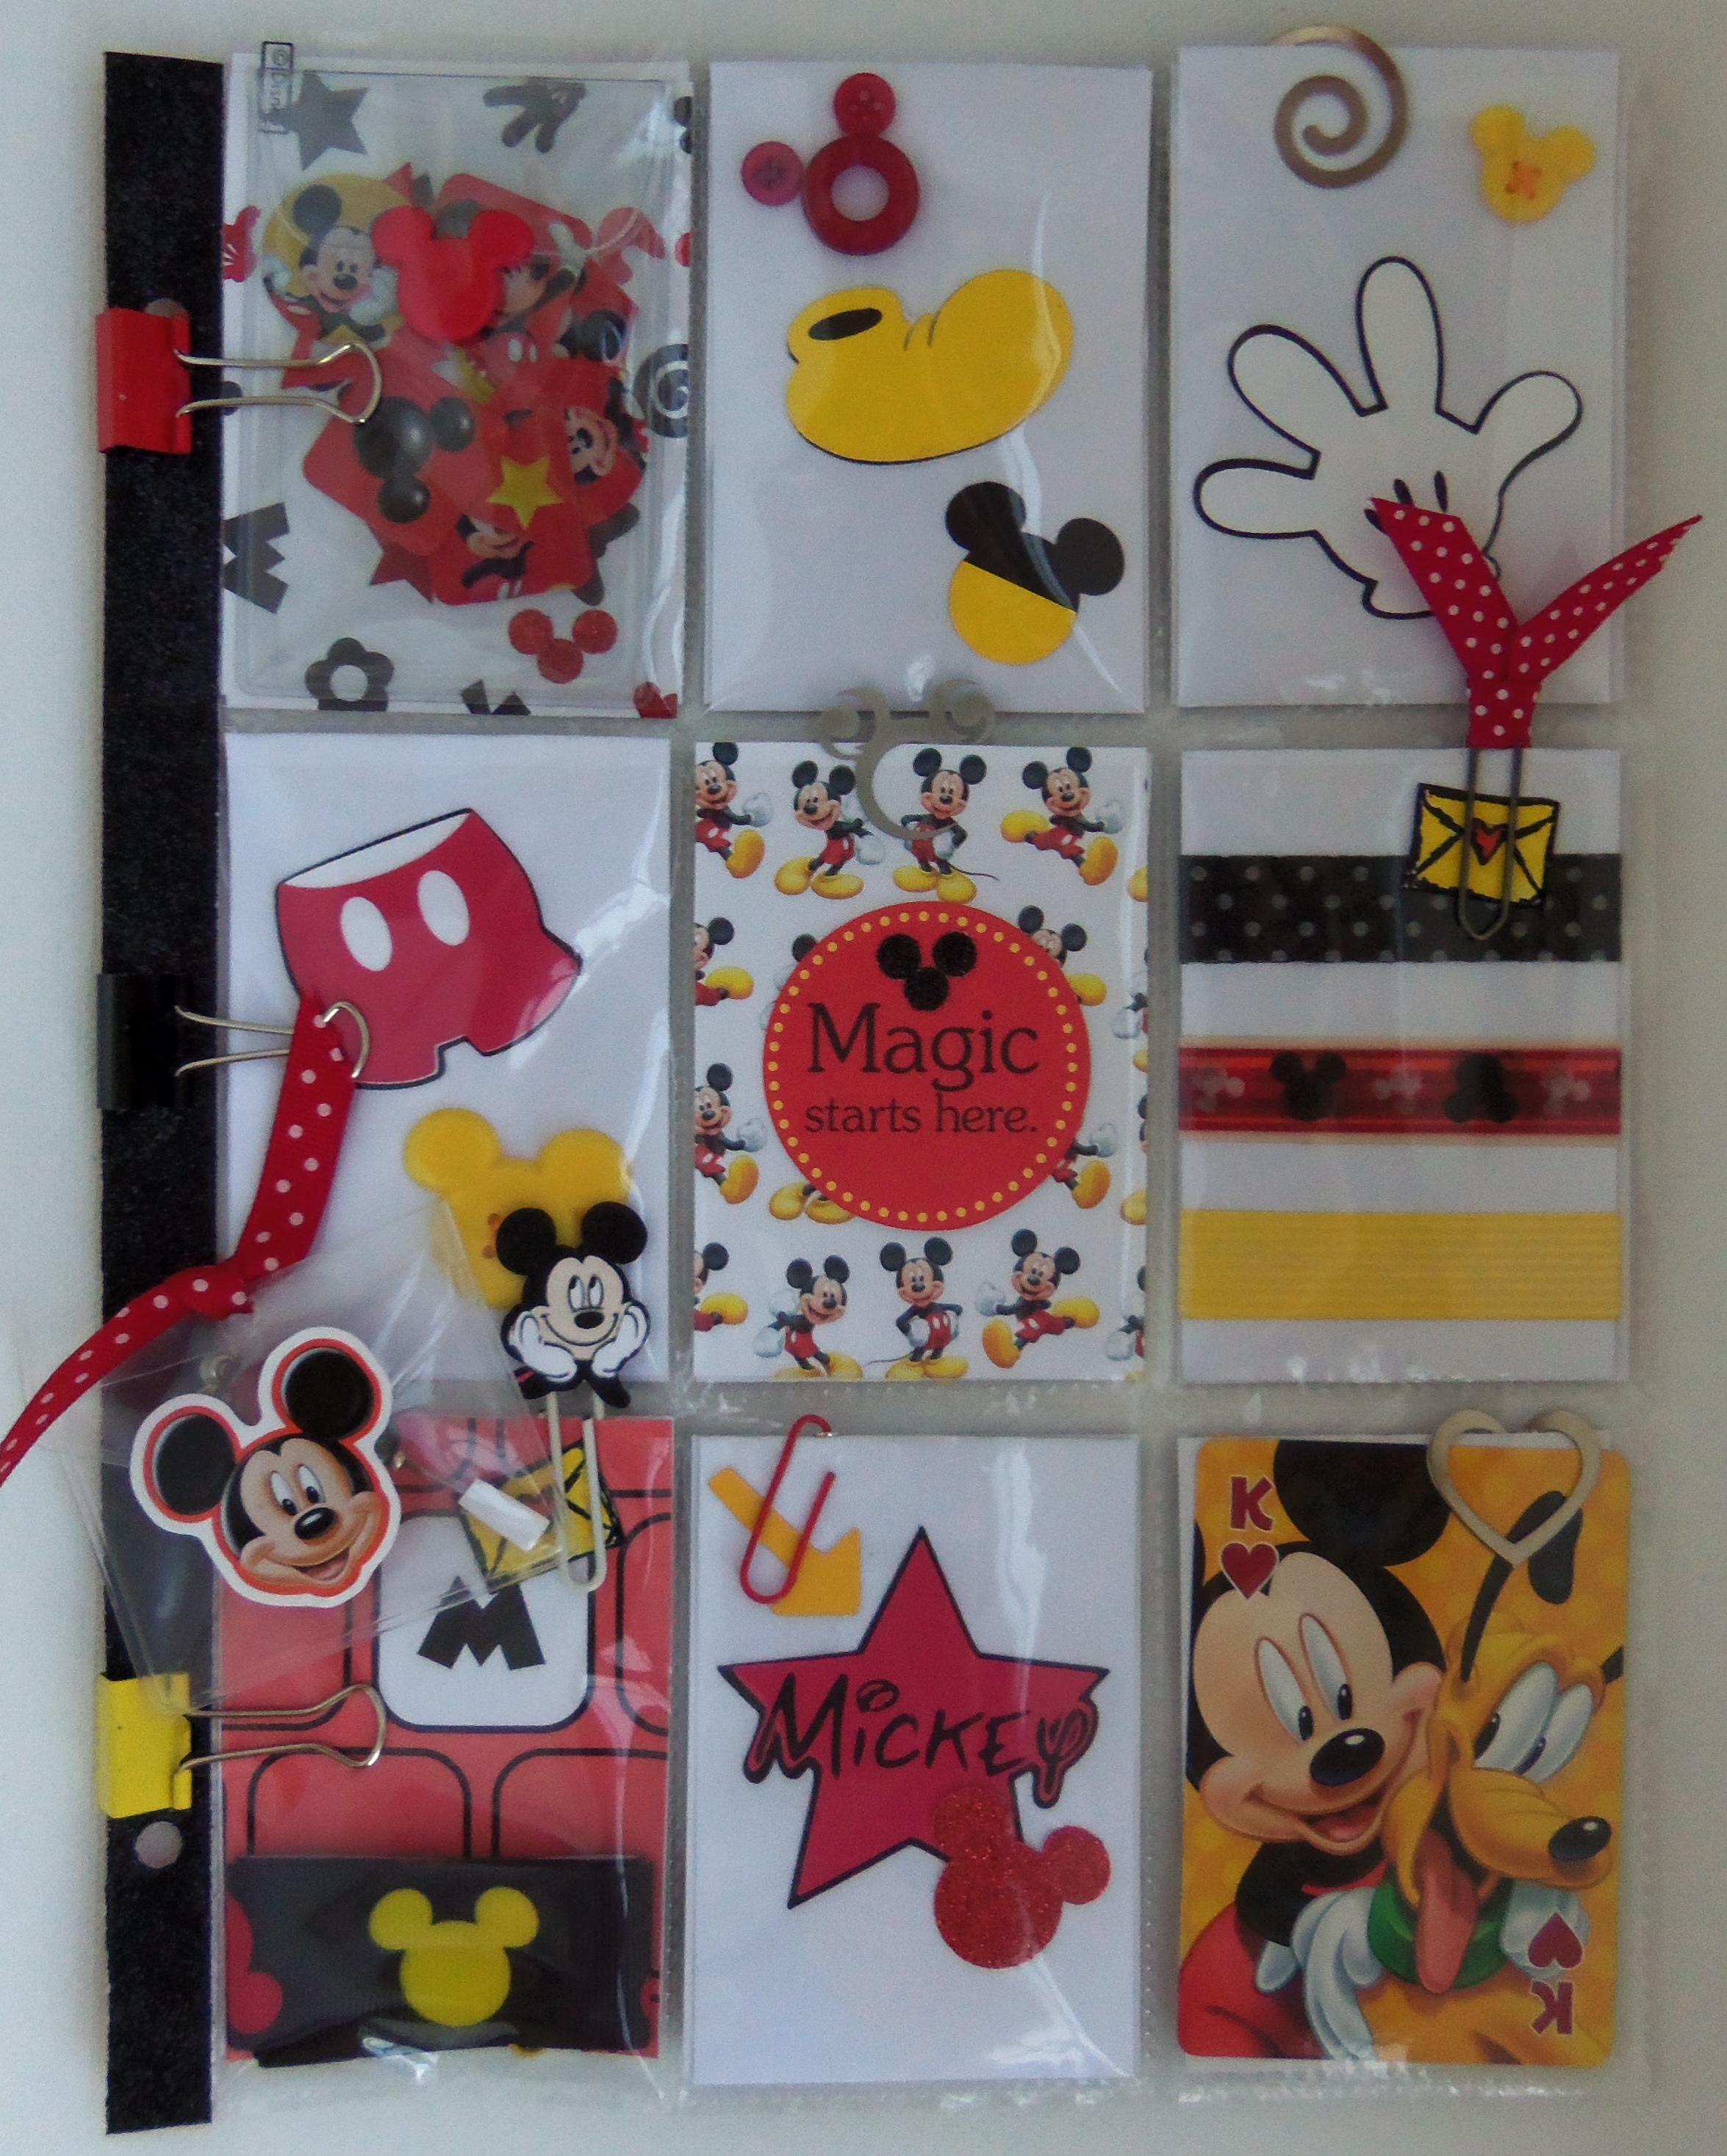
Now that it has arrived at its destination I can publish pictures of my 4th PL. This one went all the way to Scotland from Canada! My pal expressed an interest in Steampunk and Vintage. This is what I came up with. I was originally going with the steampunk idea because I too like that. I have never done anything like it before, I felt I had enough things in my stash to create a decent one. After some research on line and working with what I had this is how it turned out. I have to say that I was a bit out of my comfort zone on this but I liked the end result, and so did my pal. I was relieved. The printed paper I used was from Michaels. It is Recollections and is called Steampunk Botanica. I also had some fun embossing folders. On the front I used the dress form one you see in the middle square. It is made by Darice. The bottom left one is by Tim Holtz and it is from a set called Alterations. All of the metal embellishments are from Michael’s and they are things I had in my stash. The centre left with the clock images are rubbings that were in a kit I had from years ago that was purchased at Costco. The tape measure piece (stickers)in the bottom right are from the Dollar store, but again I have had that for a number of years.

Steam punk PLback

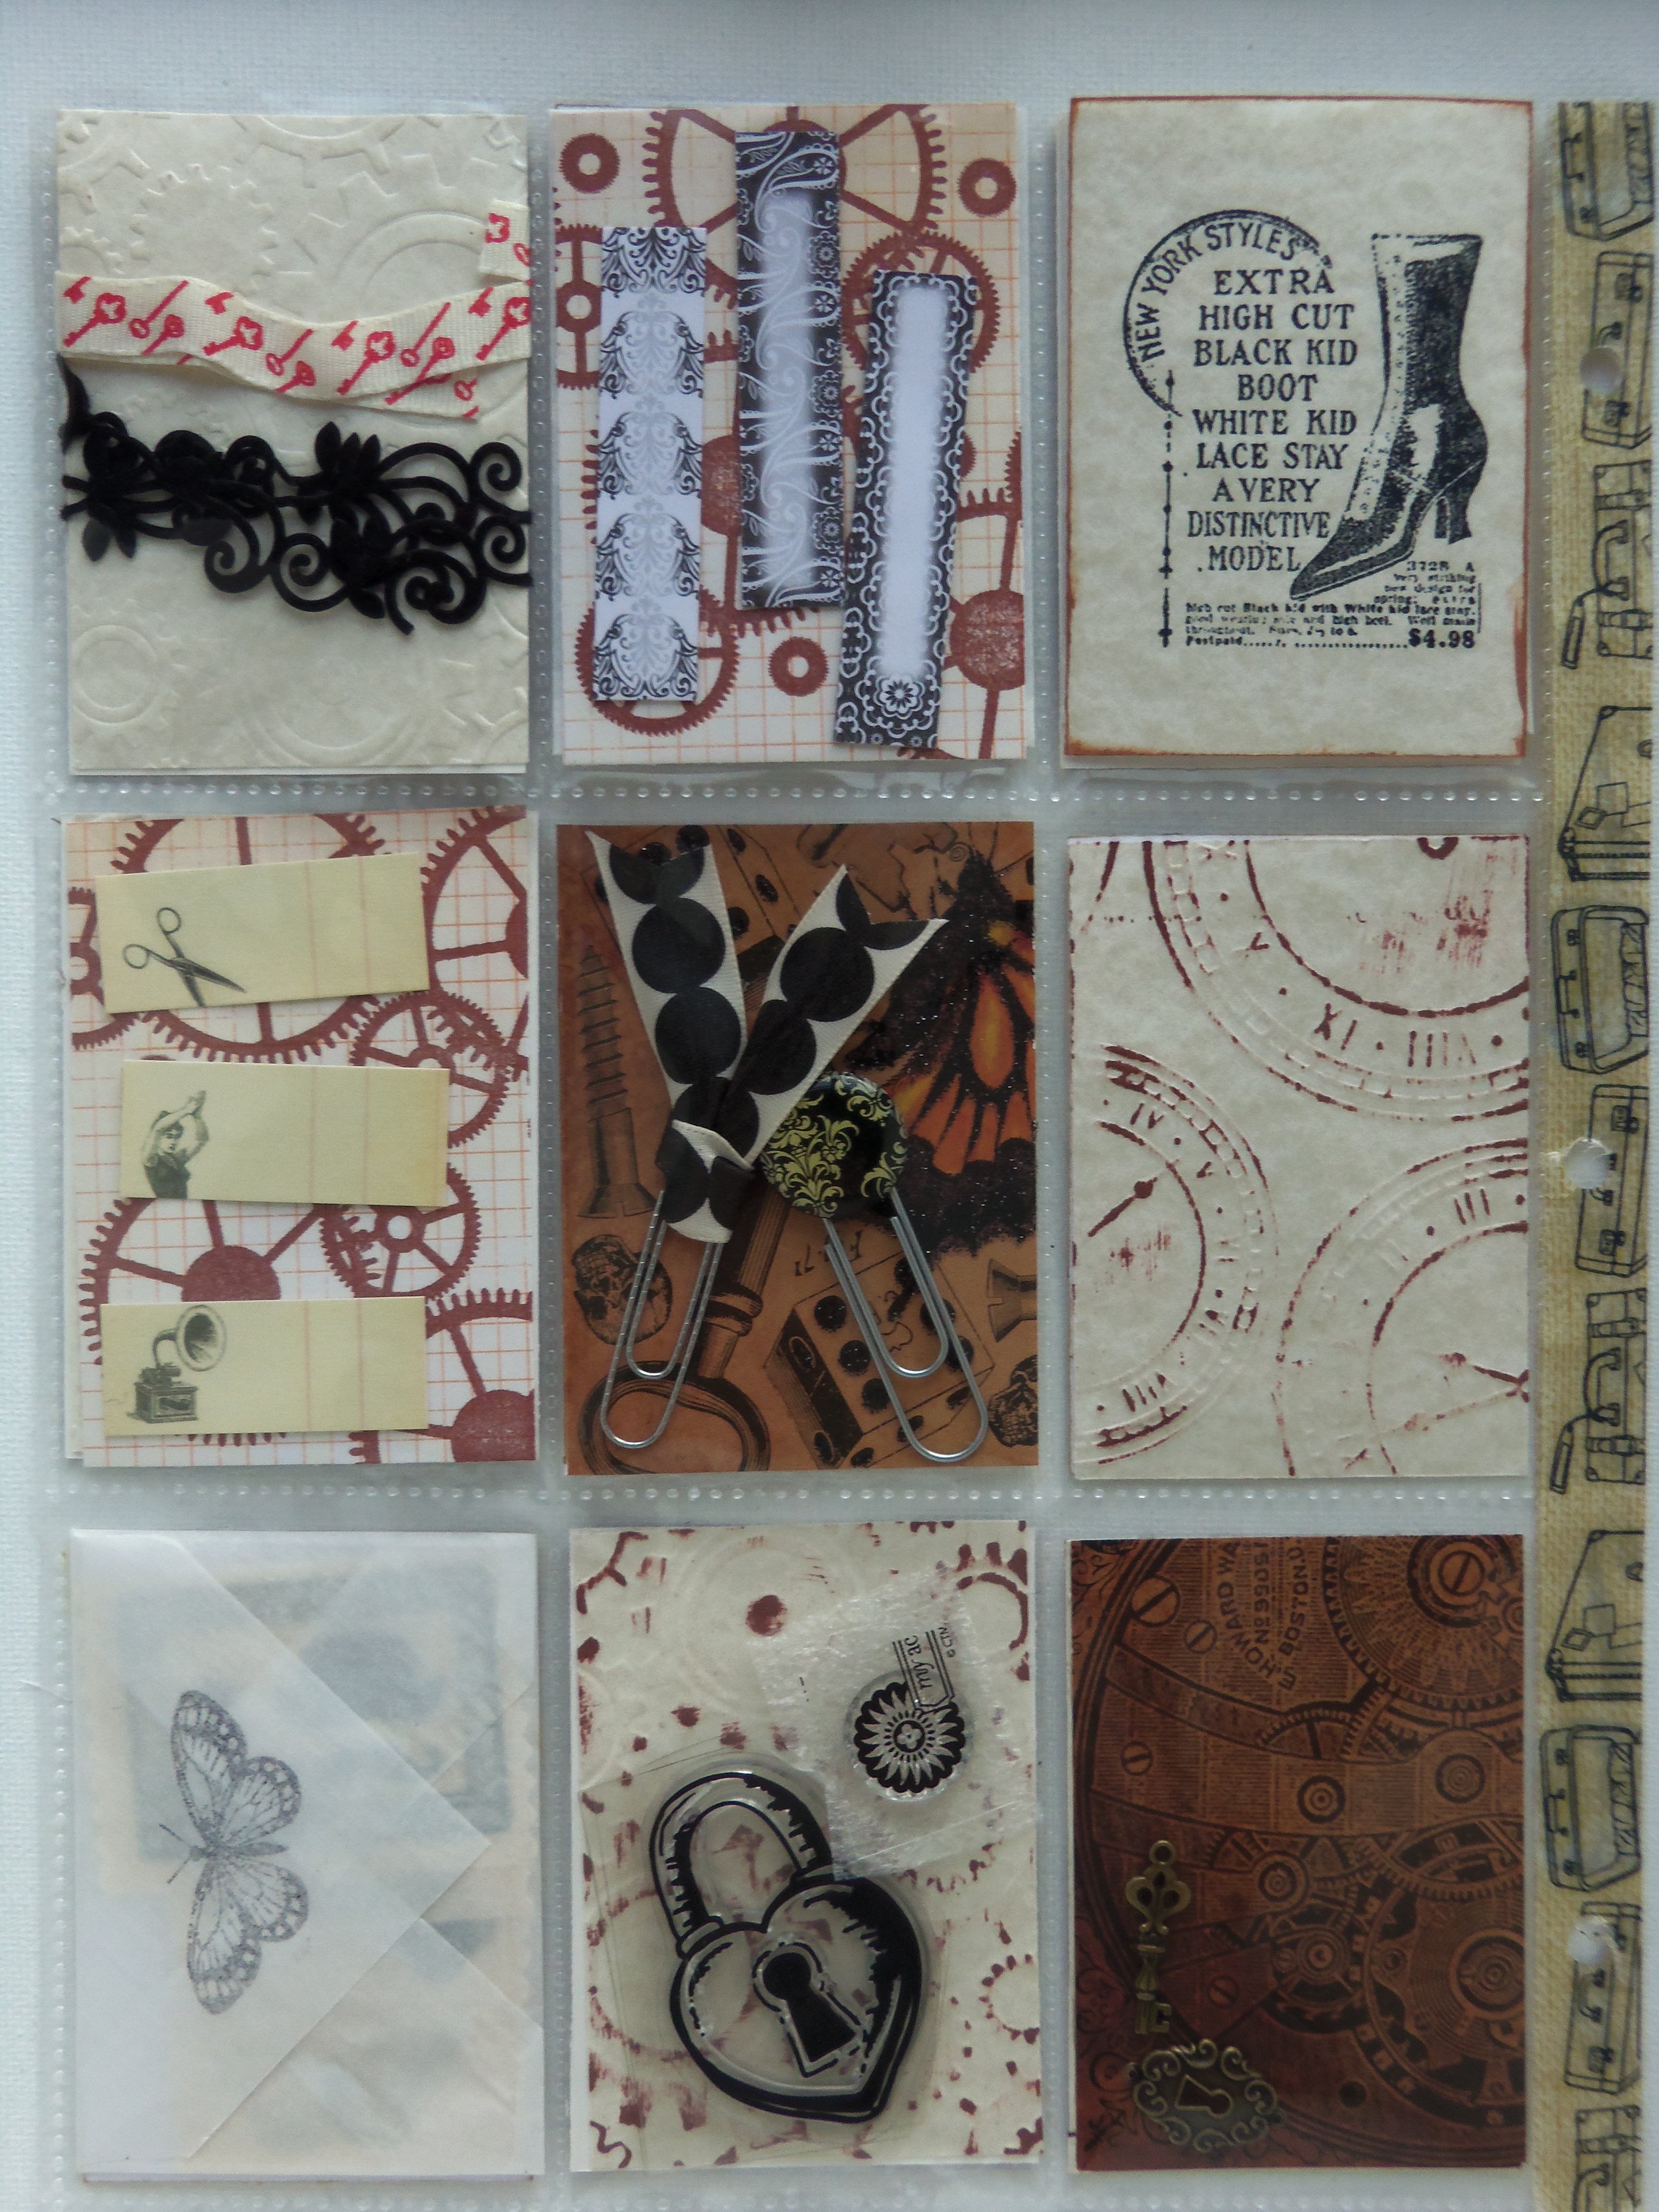
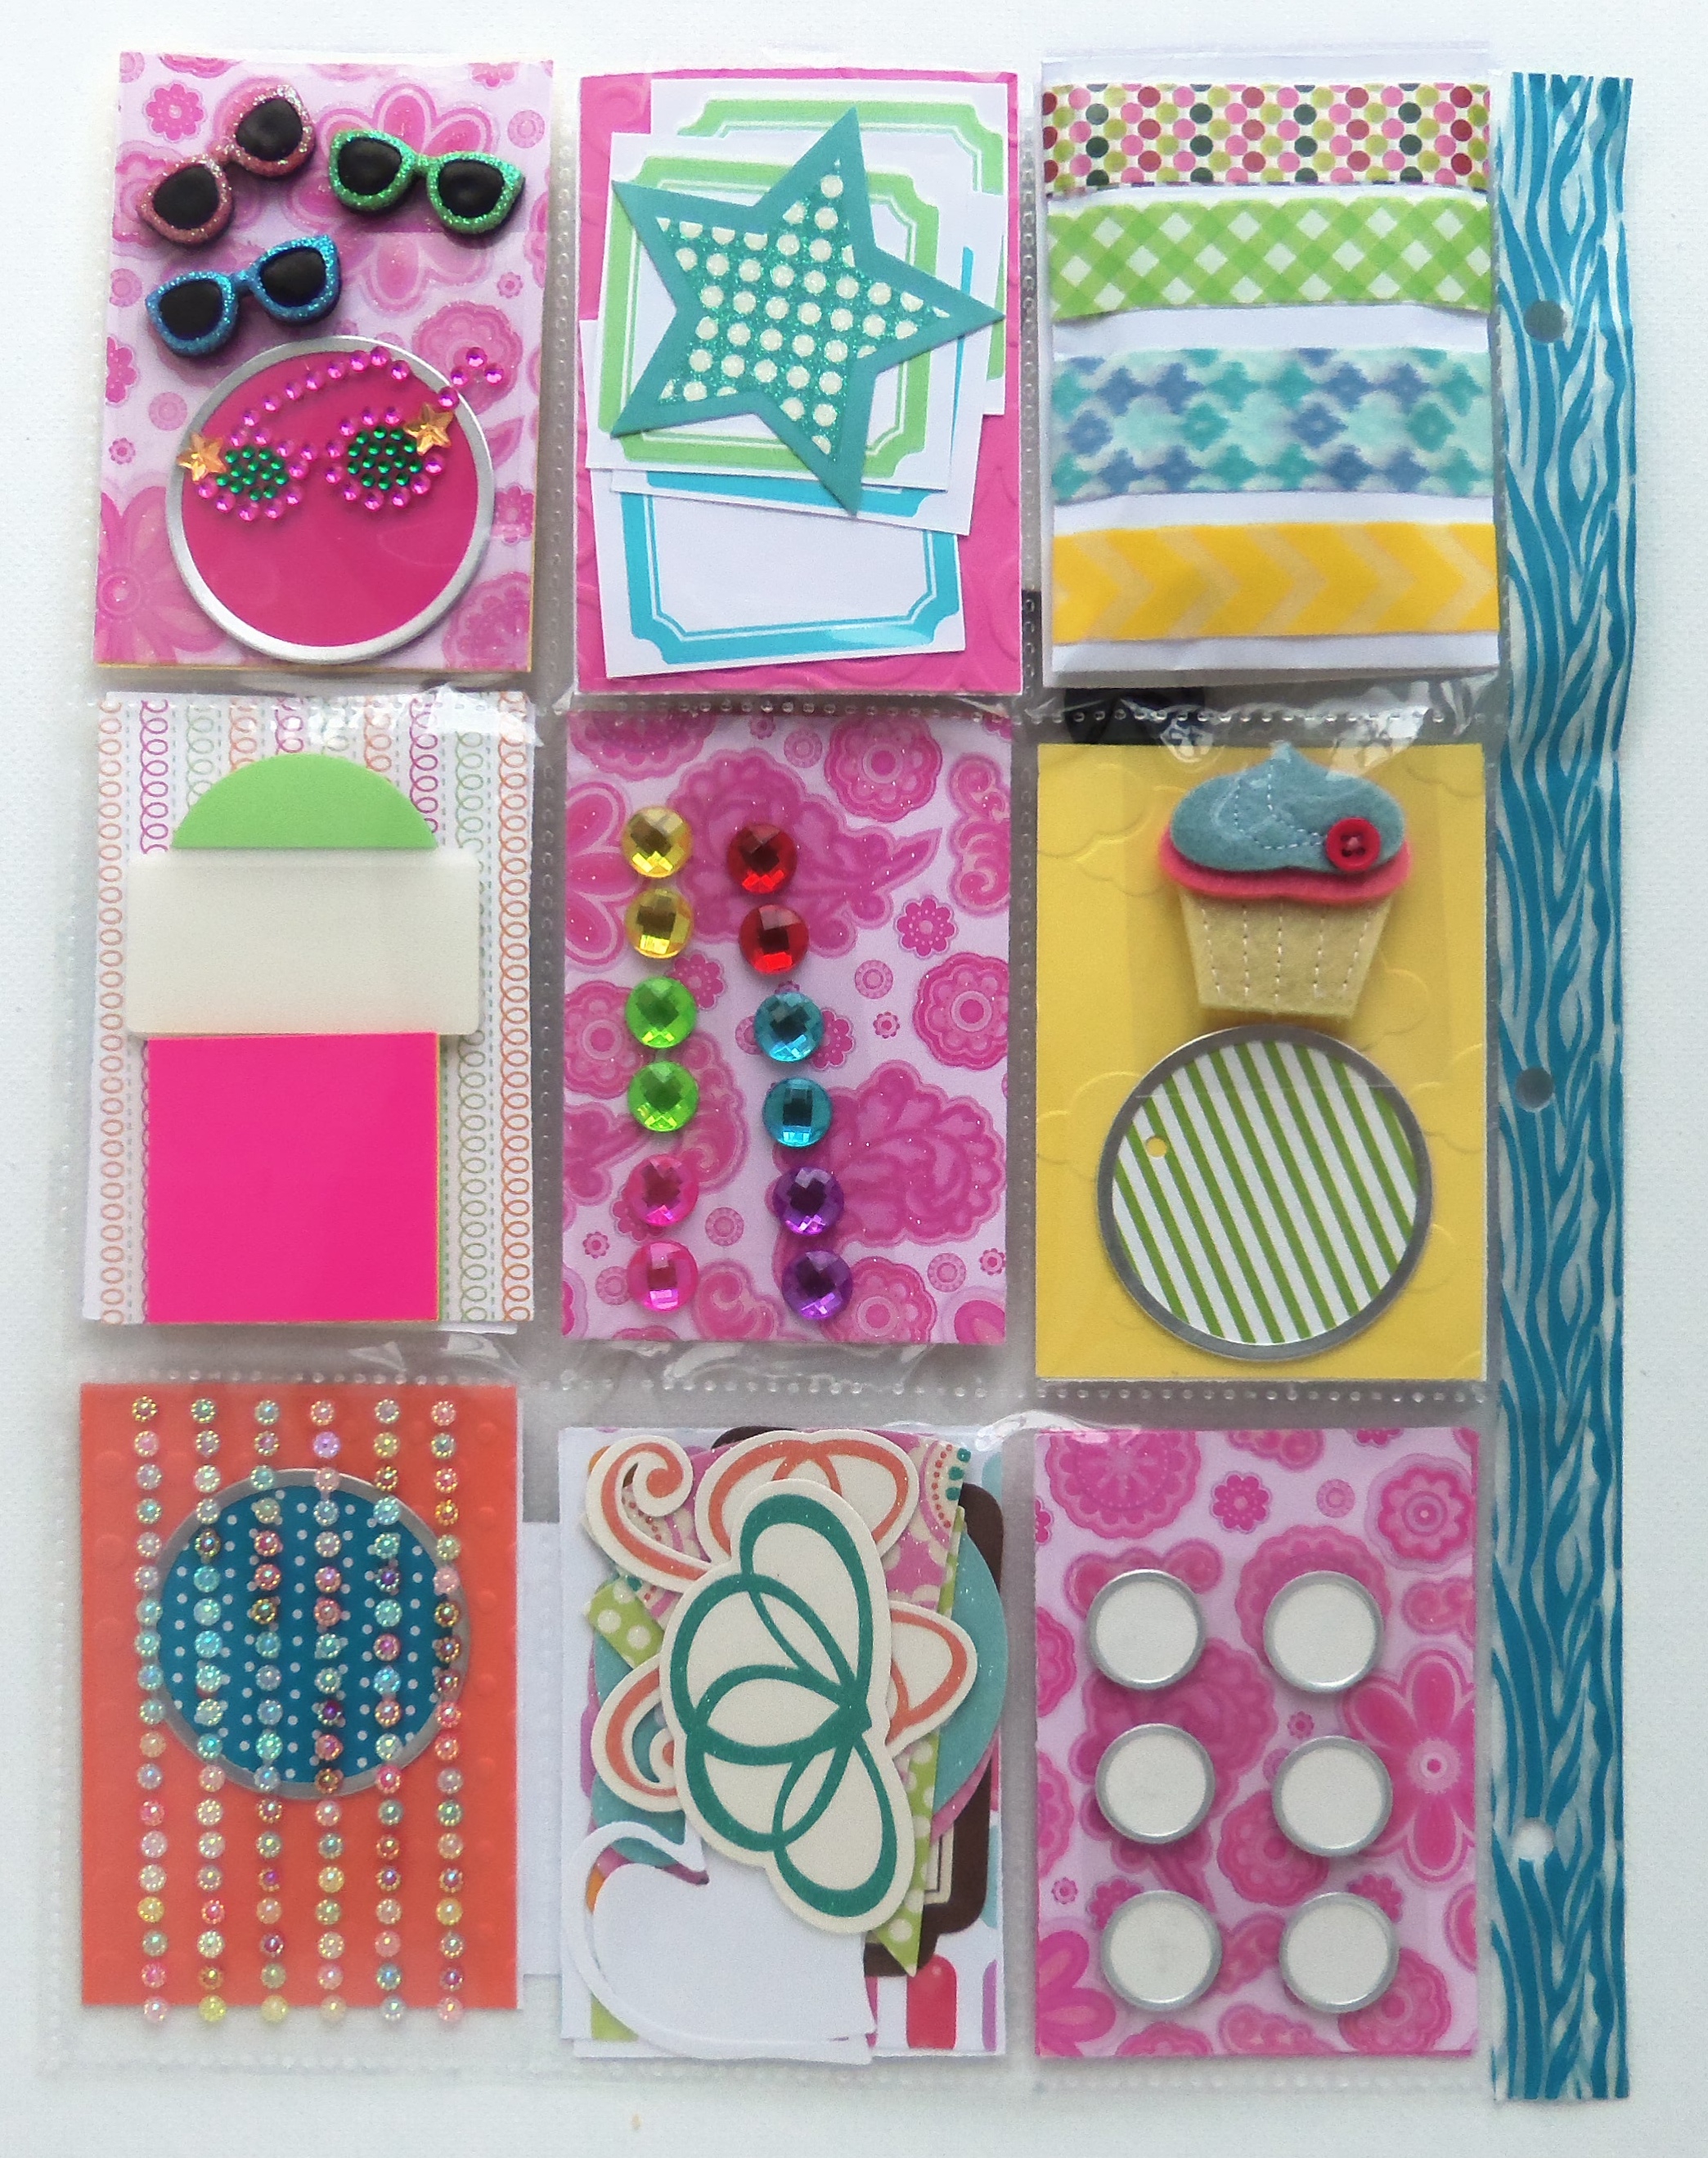
Here is the back view. Another Darice embossing folder in the middle right. Called Clocks, and bottom centre called Steampunk. The small envelope you see in the bottom left is made of parchment paper with a stamp of a butterfly. The gears that are stamped on the paper are from a stamp set I purchased last spring at a local stamp store that was selling some used items. As well as the image in the upper right corner of the vintage boot.

SP PL stamps2SP PL STAMPS

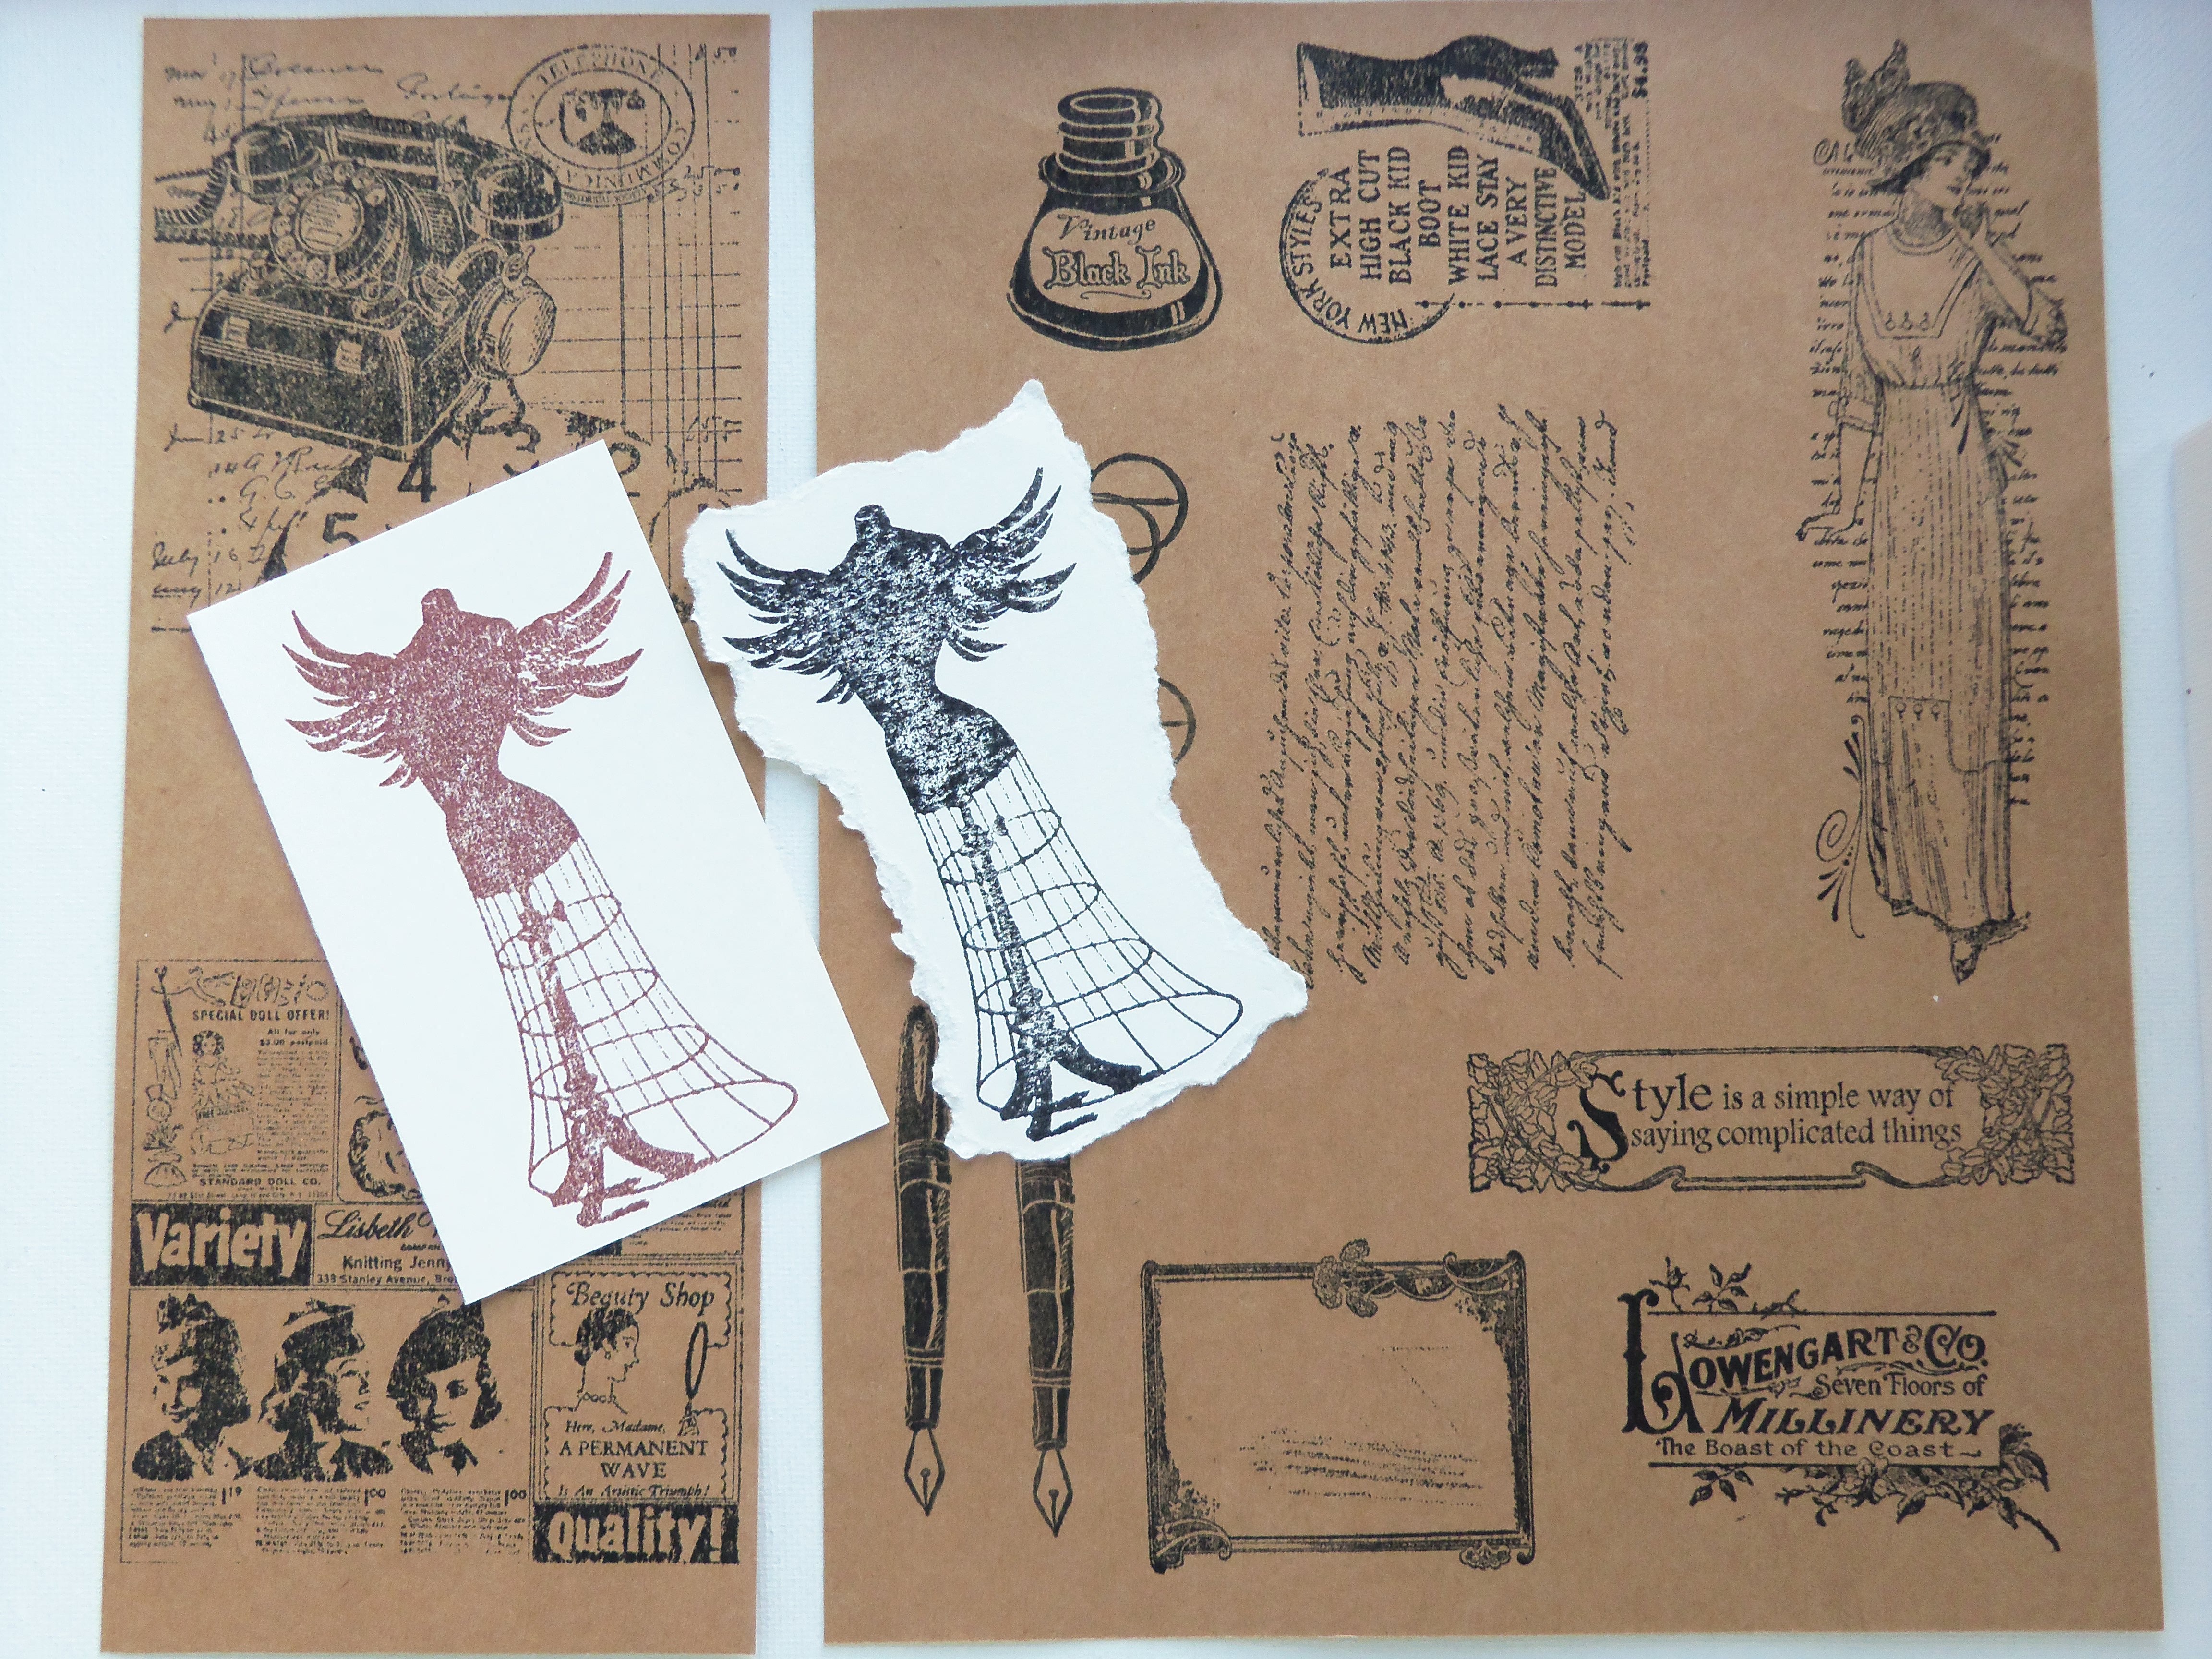
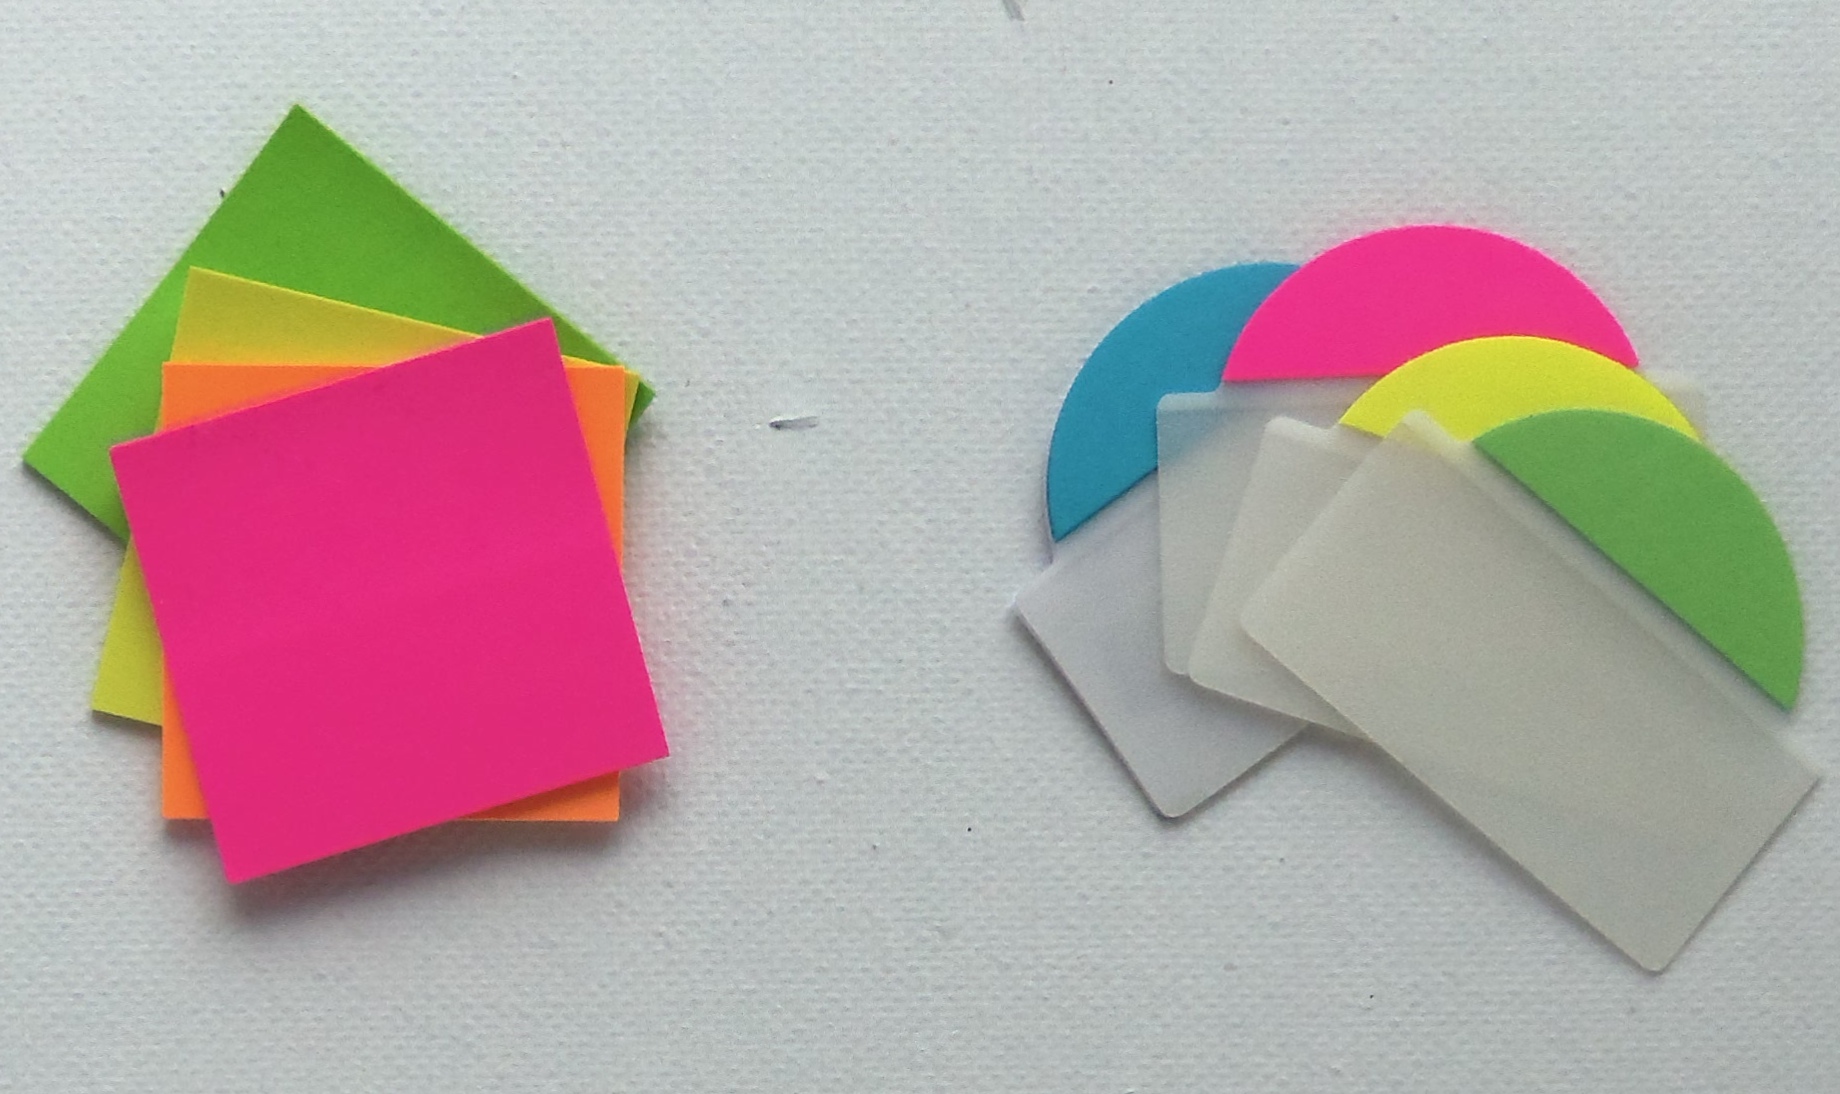
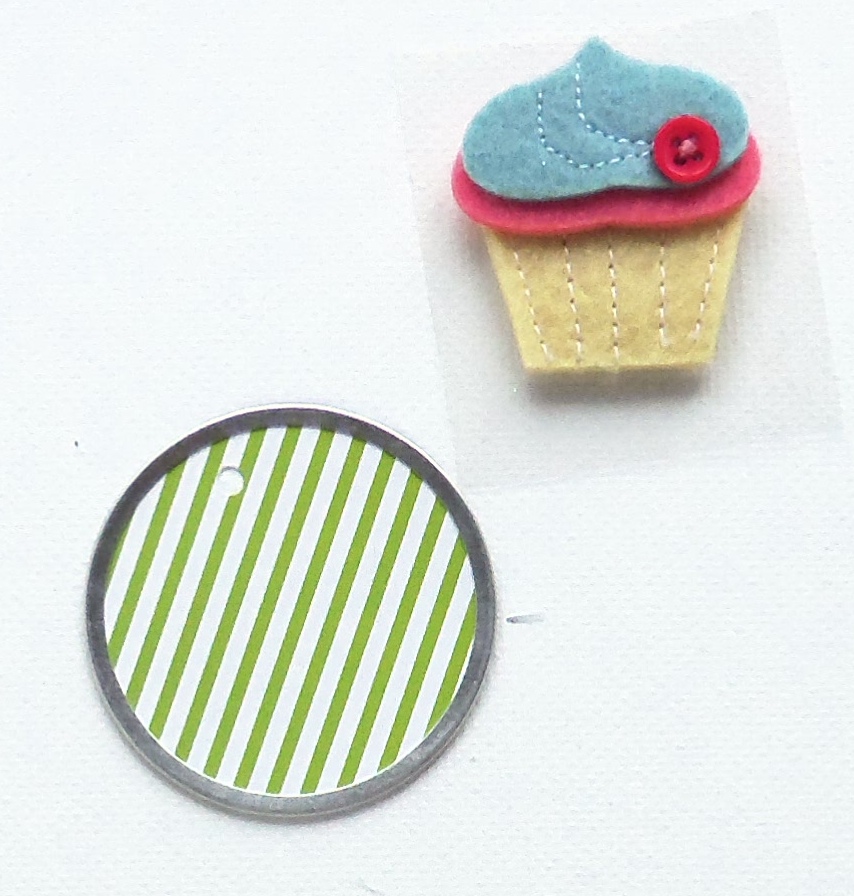
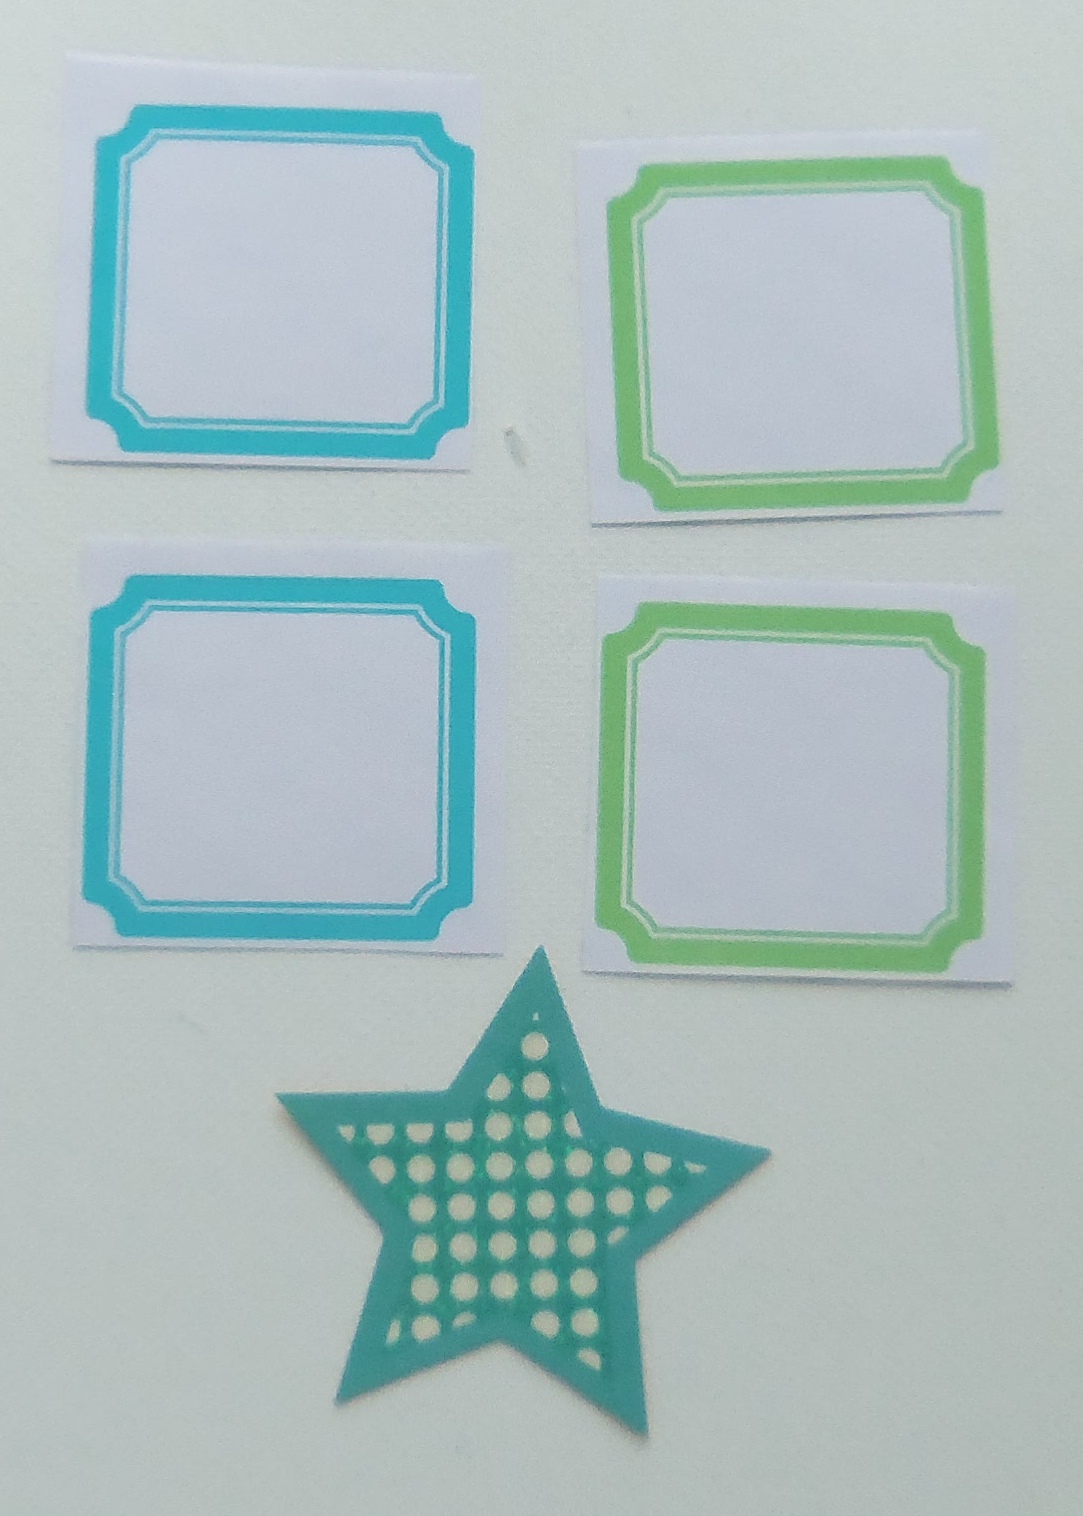
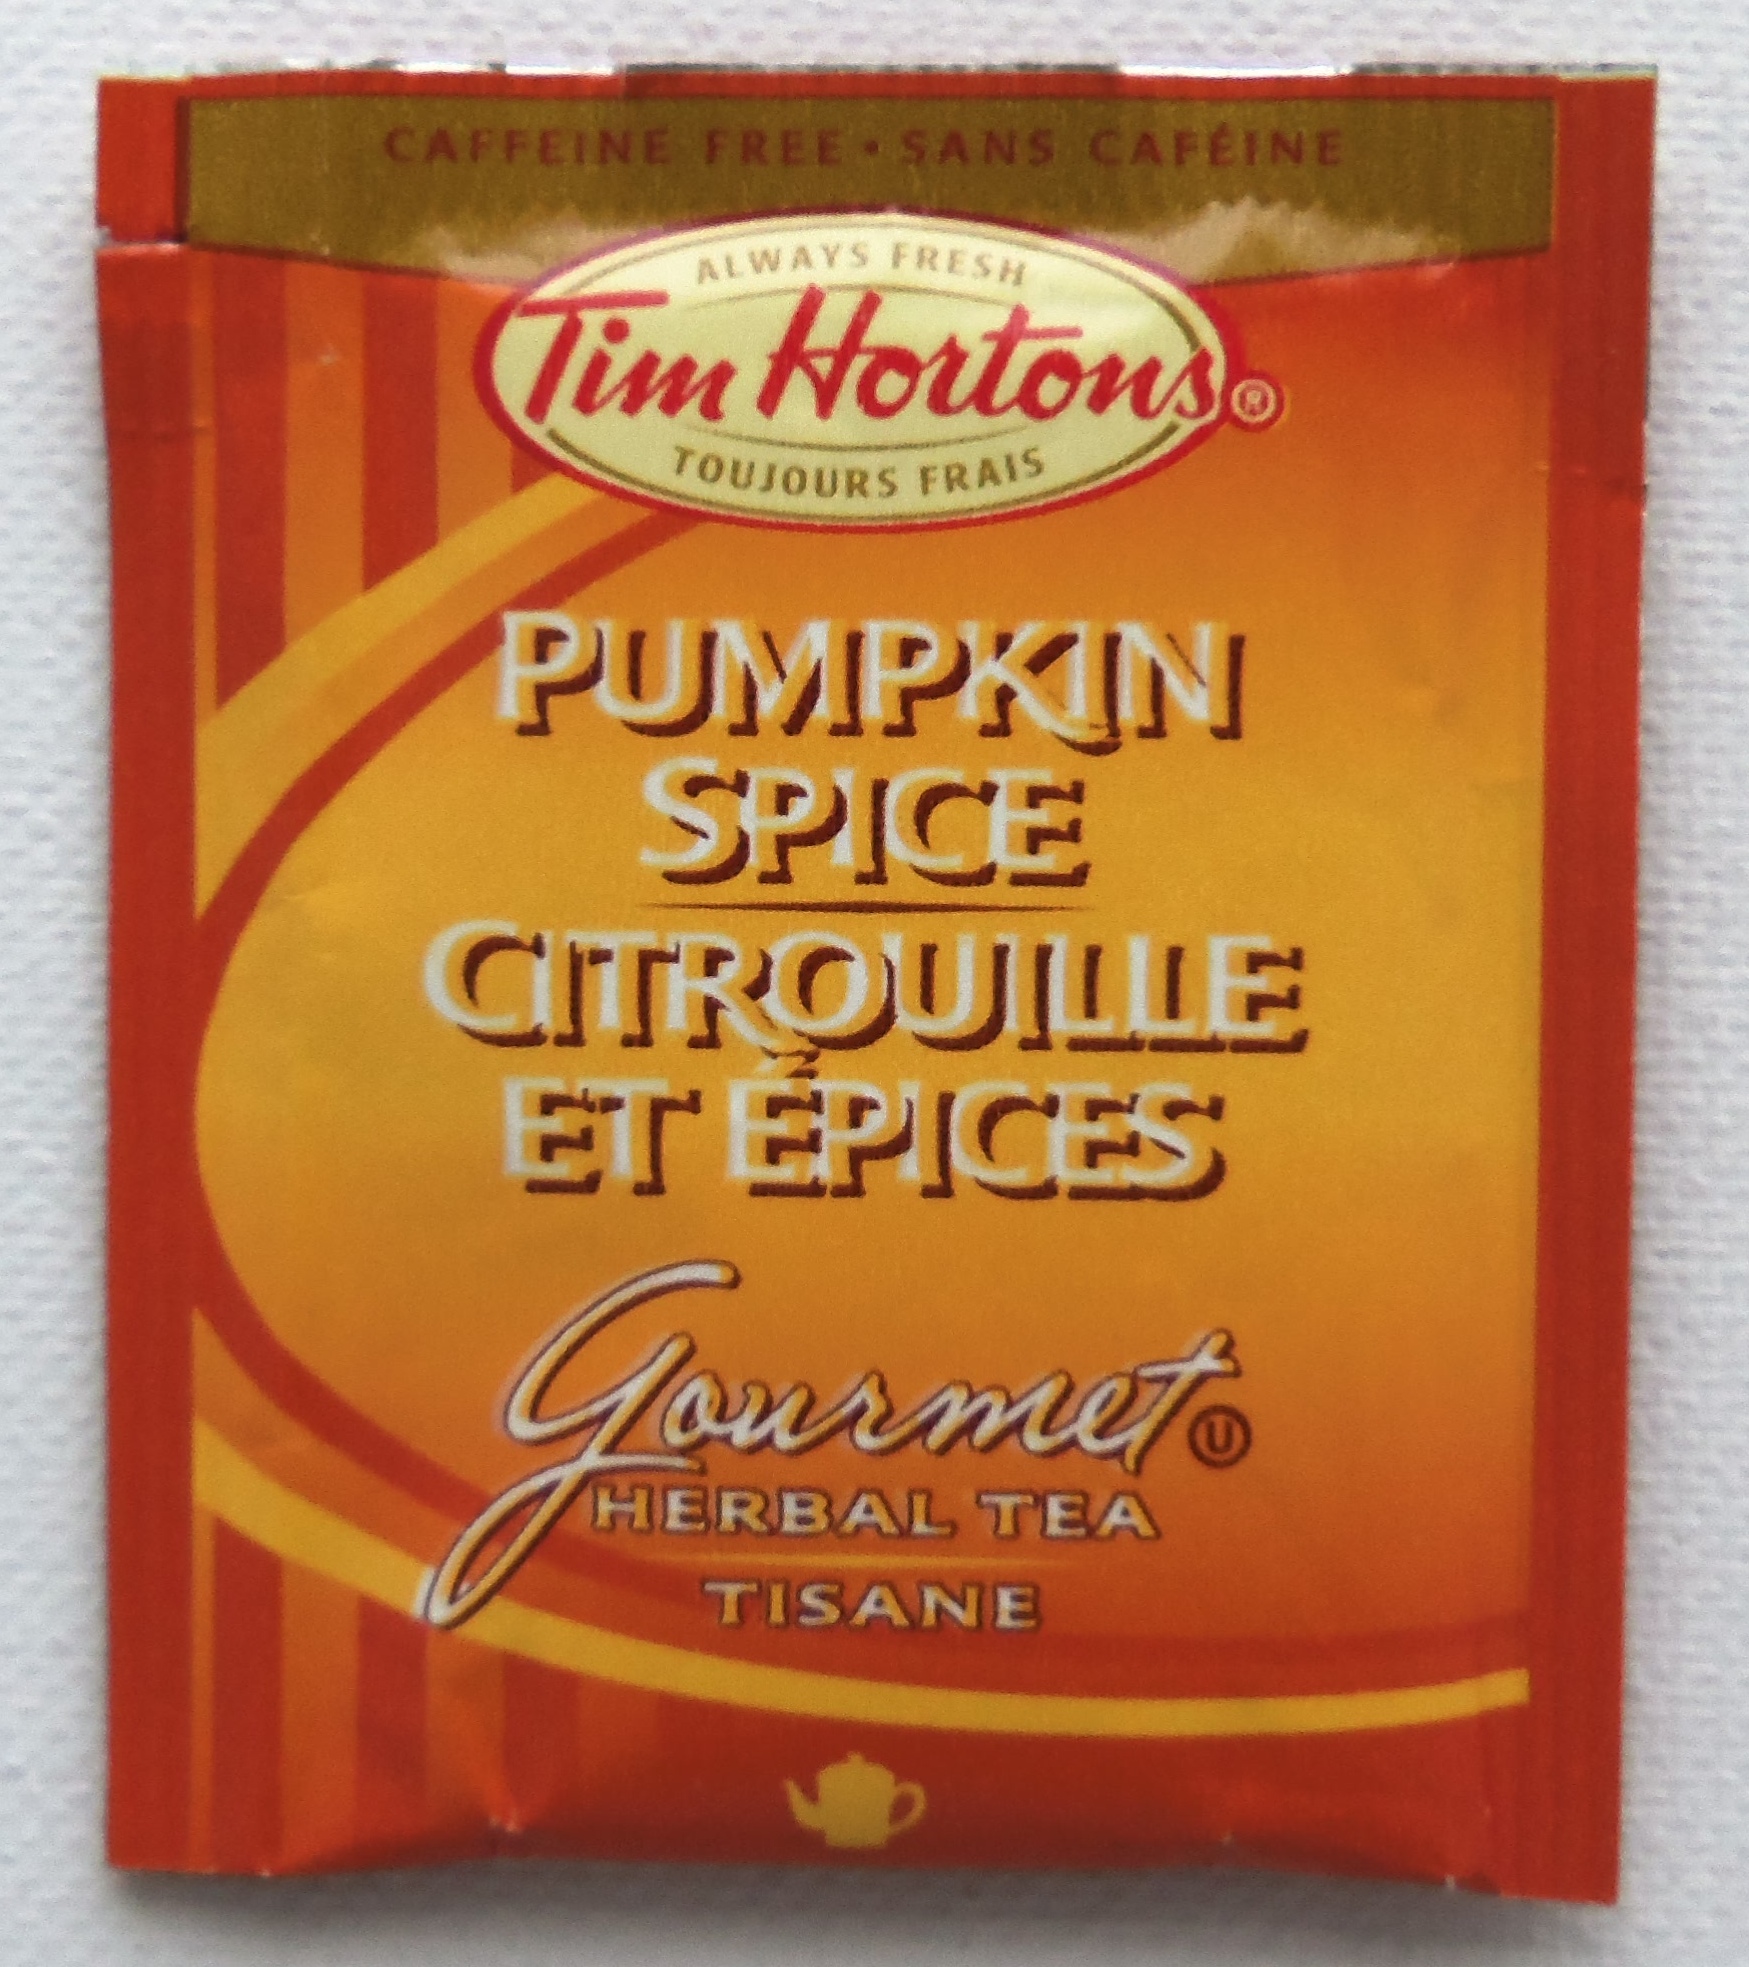
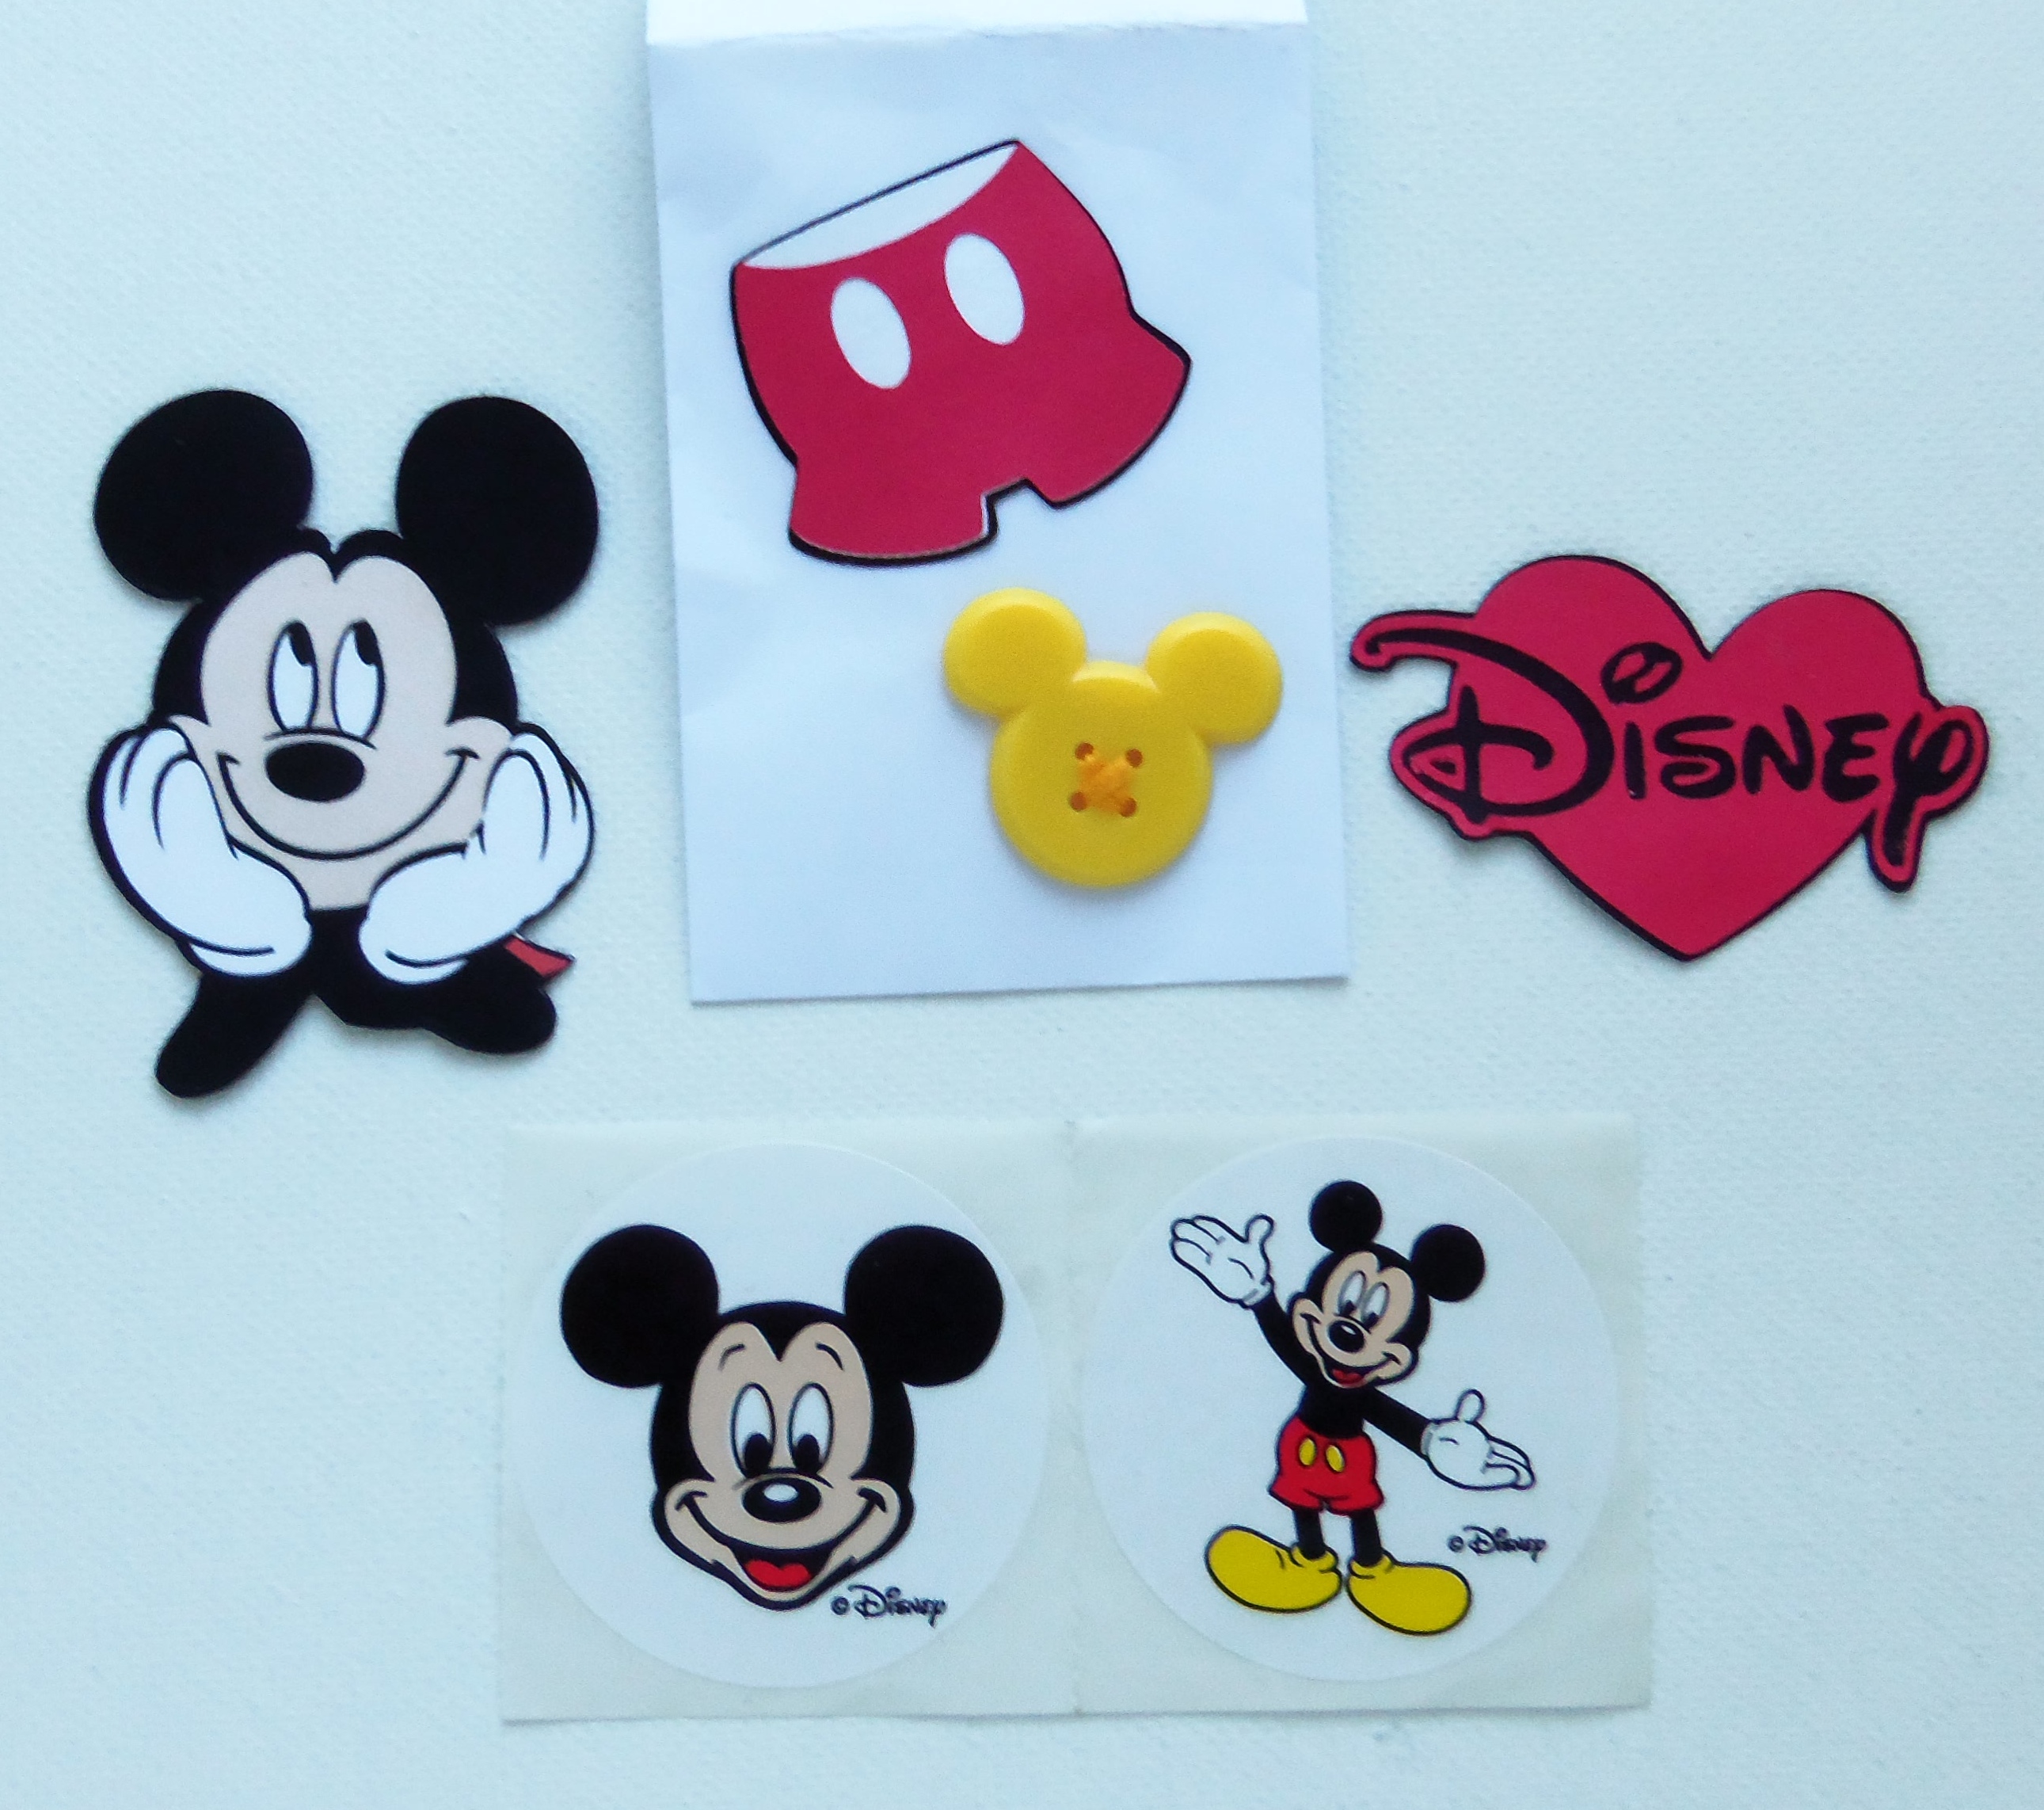
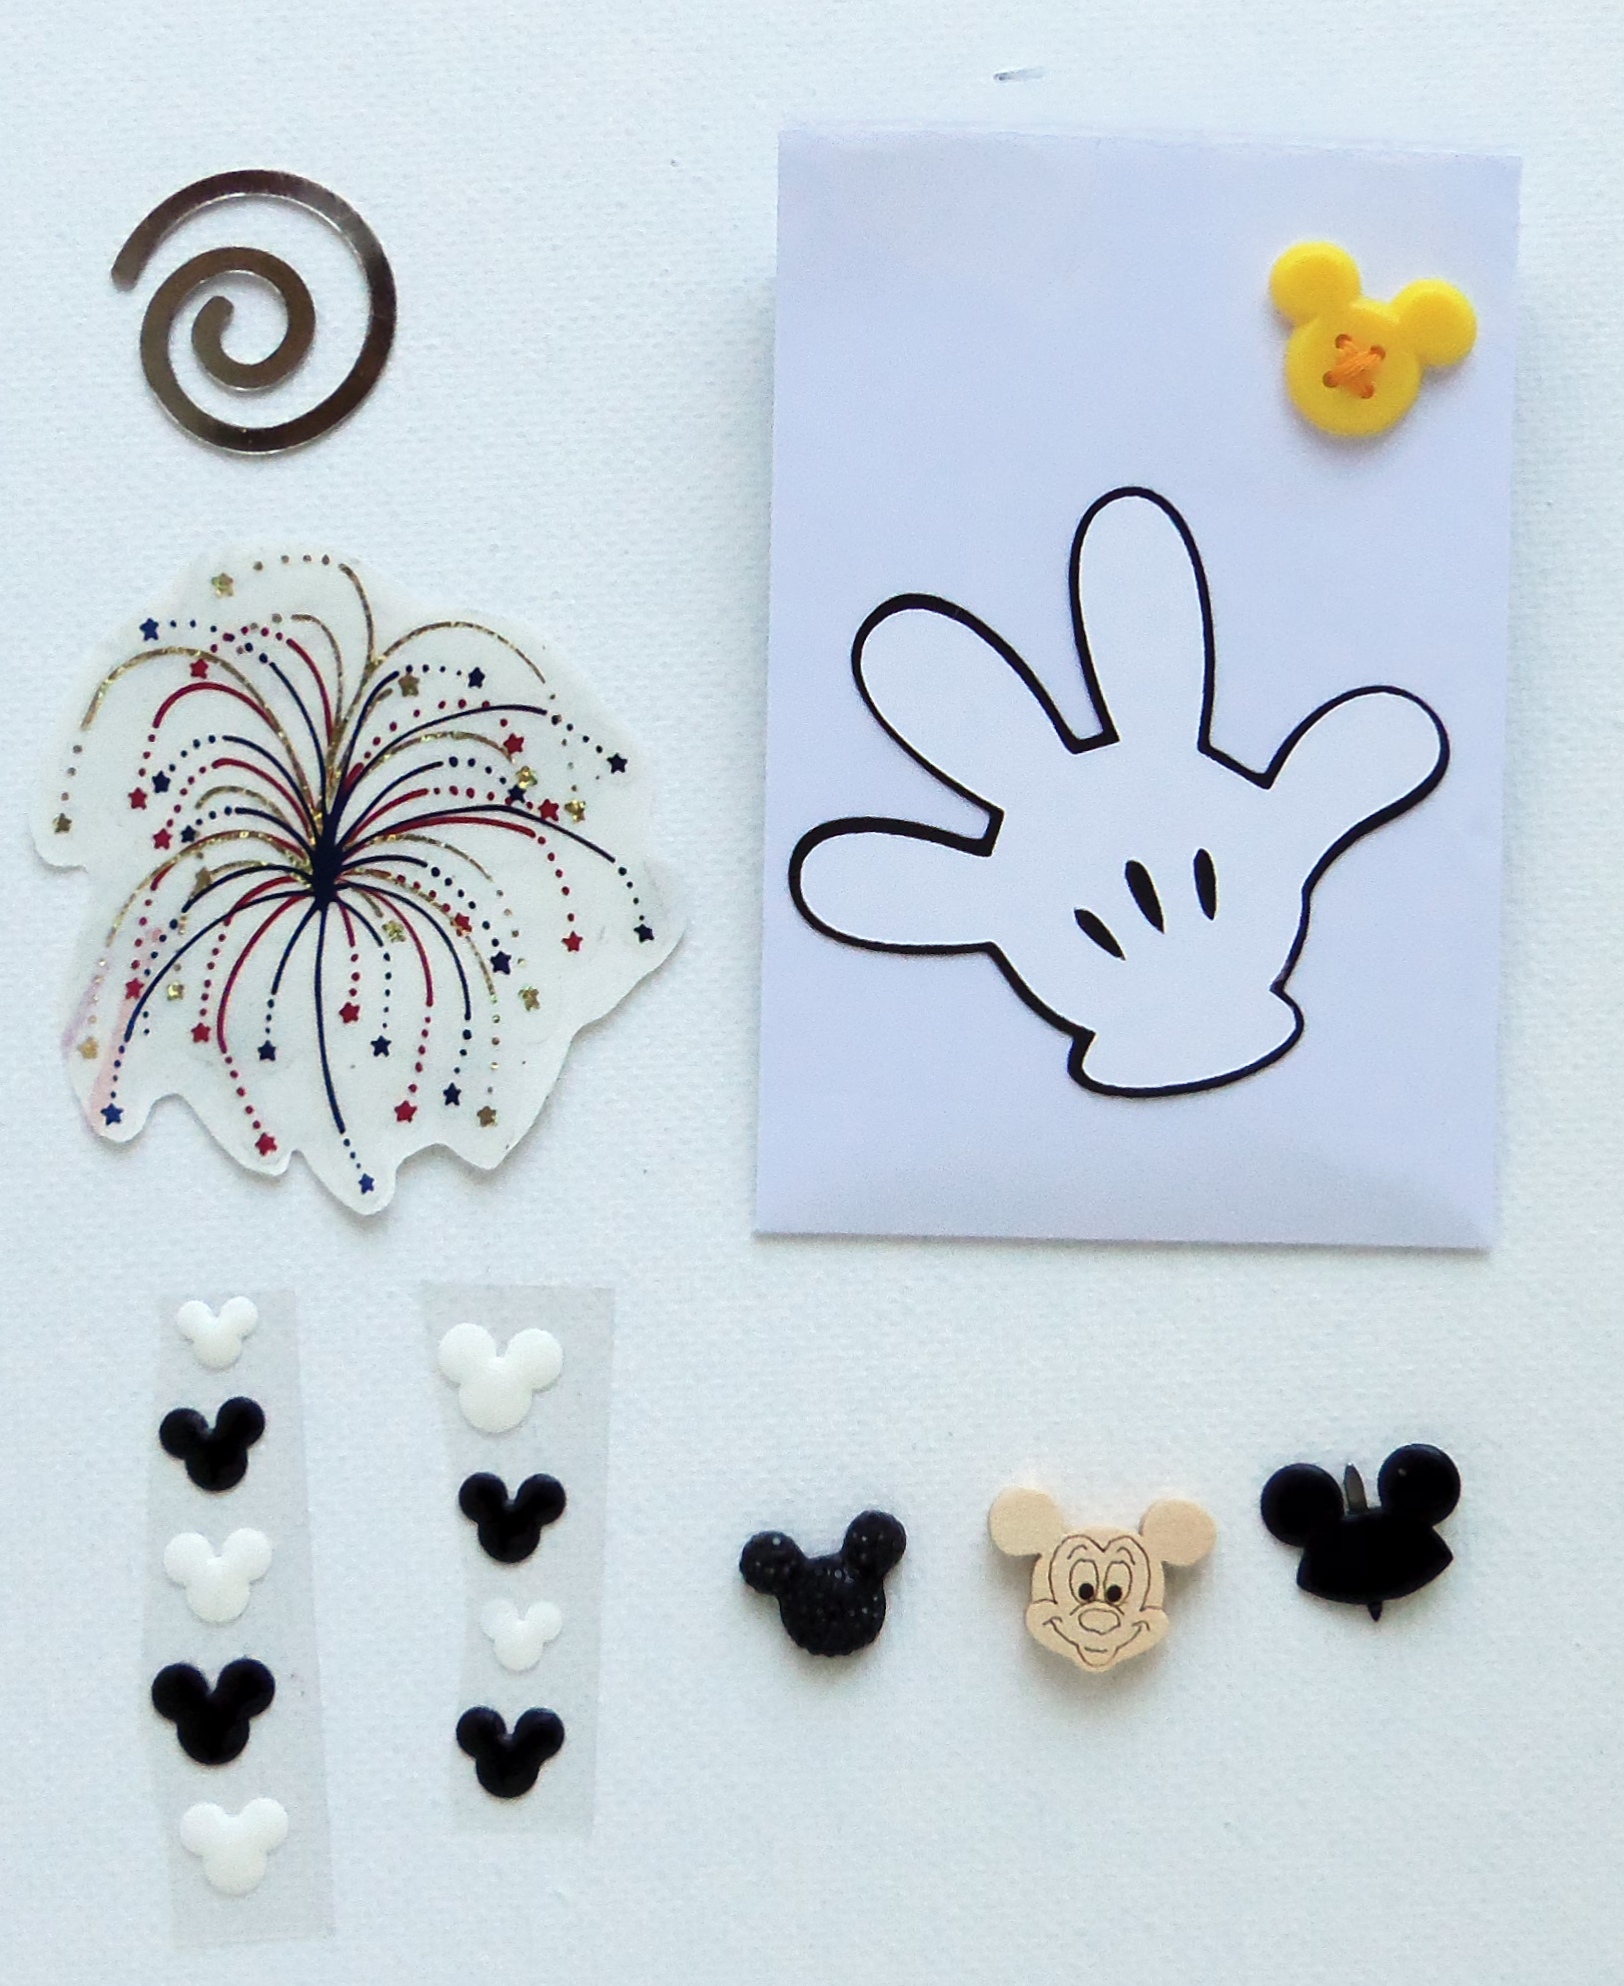
The two images above are some extra paper and stamps I thought she might like. Maybe she can use them in another project. They were too large for the small pockets but were vintage images that I bought at that same stamp store sale. The dress form cut out is a Sizzex Die from Winners that is a Paris theme. There are a few things that I forgot to take pictures of. One thing I included were my favourite tea’s. They are in a small envelope that I made. I wish I had taken a picture of. My pal did post some pictures of them on face book so you can head over there to Pocket Letter Pals to have a look if you are interested. Thats all for now. I will post pics of the PL that I receive from her when it comes in and of  my 3rd PL which is still in transit to Japan! It is a Halloween theme one. Stay tuned!!! Until next time Happy crafting everyone!

Hello Everyone!

Now that my second Pocket Letter has arrived at its destination I can share. This was a swap with a new pal in Alberta. I am also a Close To My Heart consultant and chose the Stamp of the month for June called “Ice Cream Dream”(S1506) as a starting point for this Ice Cream Themed PL. I stamped the images on water-colour paper using “Memento” Tuxedo black ink. I then coloured the images with the “Zig Clean Colour real brush markers”, then fussy cut them out. I used the Ice cream truck, ice cream cone, popsicle and sunday images from the stamp set. I also used the sentiment portion and gave it a dash of colours with the Zig markers as well.There is a touch of Clear “Wink of Stella” on all four of the pieces, but I don’t think you can see it in the photo. The printed papers are from a “Die Cuts With a View” 8X8 paper stack called” The Sweet Stack”. I also used coordinating colours of card stock from “Recollections”. I ran the solid colours through my Sizzix to emboss them for added interest. I used  the “Dorice” cloud, & dots folders, as well as the Cuttlebug. Devine swirls for this. Then I went to my stash and had fun pulling out things with a similar colour scheme. I like to decorate the back as well with co ordinating papers and colours. Then when I stuff the pockets, I put the items in-between the decorative papers as I did in my first PL or on top of the paper if it looks pretty. That is what I did for this one.

The front

Pocket Letter #2 Front

The back

Pocket letter #2 Back

The treats included in the PL

Pockt Letter #2 E4 Pocket Letter#2 E8 Pocket Letter #2 E7 Pocket Letter #2 E6 Pocket Letter #2 E5 Pocket Letter #2 E3 Pocket Letter #2 E2 Pocket Letter #2 E1

I also created a small card with the All about me info. on the computer and printed up a few to have as extras. I made this small paperclip using a small envelope stamp that I have. I make them and leave them uncoloured until I create the PL then four it to match the theme I am doing.

Pocket Letter #2 About me

As I said in my previous post, these fun little bundles of joy are super fun to make and share.

So get out there and spread some love! Make a pocket letter and send it to a friend. Or better yet, make a new friend from somewhere else in the world.

Until next time Happy Crafting!

Today I received my first ever PL (pocket letter). It is from my second swap pal from Alberta.

I love it! Thank-you so much Maaike!

I will post pictures of the one I sent her after it arrives at its destination.

Here are pictures of the beautiful one I received and all of the goodies inside.

Front

First PL Received

I love how she included my name on the front, I think that is such a great idea to personalize it. And the teacup stamp it gorgeous! I am am avid tea drinker and think this is an amazing stamp.

Pocket contents

First PL Received E8pretty corners & wahsi First PL Received E7 bakers twine

First PL Received E6 Yummy tea!First PL Received E5 adorable stickersFirst PL Received E4bling First PL Received E3 chipboard pieces First PL Received E1 more blingFirst PL Received E2ribbon,lace and clips

Also included in the envelope were these beauties.

First PL Received E10 a beautiful had made notebook First PL Received E9foil stickers

So many fun things I can use in my crafting!

You were very generous Maaike. Also included was a sweet letter about herself. I know I said in a previous post I was unsure about consuming anything, but this tea looks too yummy not to try, I have never had it and am looking forward to trying it.

These PL are so much fun to make and as I have been a crafter/hoarder for quite a long time, I have a lot of stash to pull from so it is quite inexpensive. This PL was shipped flat and cost $1.80. to ship from Alberta to Ontario. I tried sending mine flat this time as well and it was $2.05. Much more reasonable.

I did miss wrapping it up like I had my first one though. I see in the Facebook group how pretty the folded ones are wrapped. Out of curiosity I should have asked the post master how much the first one I sent that was folded and went to Texas would have cost to ship within Canada.

As I am heading out soon on vacation I am not going to commit to a swap until later in August but I am already thinking of themes for the next one and can’t wait to get started on another. It is truly fun and addicting.

Bye for now and Happy crafting!

Have you heard about the New Craze? Is a PL or pocket letter. What is a pocket letter you might ask? A pocket letter is a ramped up pen pal letter, it’s creator Janette Lane. Thank-you Janette for creating another way for people to express themselves creatively. To create a pocket letter you start with an 8X10 album page that has 9 pockets in it. The ones I purchased are for those who collect hockey cards and I found them at my local dollar stored. Each pocket is a small work of art or part of a larger work of art if your design is bigger than the 21/2 X 31/2 inch pocket. You are only limited by your imagination. Then you add a few treats, some add teabags, candy, or small embellishments that the receiver can use in their own crafting endeavours or planners if they choose. There is a group on Facebook you can sign up to(probably more than one) and away you go! There people share their creations and boy is there a ton of talent out there. Lots of people make a page then post a picture looking for someone to swap with. Others like myself just read the post and said hey do you want to swap with me, its my first time? Some one did and she is from Texas. Others post that they only want to swap inside the US and others do international swaps as far away as Europe that I have seen. It is so much fun to look at every ones amazing talent. You also include a letter with a bit of information about your self. Sometimes people pick a theme or other times it is left up to you. My first pocket letter pal said to make something that you love. For me that was pretty easy. My family and I Love Disney and vacations to Florida. I am a scrapbooker and general crafter so I had lots of things for which to draw from for inspiration. Here is my very first pocket letter, wrapped and ready to go.

Pocket Letter Wrapped FrontPocket Letter Wrapped Back

The front

Pocket Letter Front

The back

Pocket Letter Back

I took pictures of each envelopes contents for you to see what I included if you are thinking of doing one of these and need ideas.

Pocket Letter Washi Pocket letter Shoe Pocket Letter Pants Pocket letter Mickey Pocket Letter Glove Pocket Letter Clear Pocket Pocket Letter Clear Envelope

I was a bit conflicted about sending food treats as I am not sure honestly if I would eat something out of mine or not. In the end I did send a Maple candy maple leaf because it was packaged and seemed like a Canadian thing to share. Sorry I for got to take a picture of it.

lrgbulkleaf

It is just like this one only packed in wrapping from the manufacture.

When it came time to mail I asked my pal how she ships hers and she said First Class with a tracking number. When I went to my local post office I was a bit shocked when she said $17.00 WHAT? are you kidding me? Needless to say I sent it regular parcel post and took a chance. Even at that it was almost $8.00. I am not sure if it was because I was shipping to the US from Canada or the size and weight that was the issue. But I crossed my fingers and away it went. Of course you are reading this post because the letter has arrived at its destination. Also I wanted it to be a surprise for my pal so I waited to post. Thank goodness it arrived safely and she liked it! I am still waiting for mine but will share it with you all when it comes. So find yourself a pal and get creating! It is lots of fun! Until next time Happy Crafting!

Here I created two cards using my Paper Pumpkin supplies. Although you will see I did also use some other supplies from my stash. I have to say that I struggle with masculine cards and felt that the colours in this pack leant to them. The green decorative paper on the front of this card is from the envelope liner that came with the kit. It seemed a shame to have so much paper hidden and for no real purpose. So I measured from the tip to just below where the envelope would cover the decorative paper and cut it off. It was too large for the front of the card so I trimmed it up. I did use the twine from the kit to wrap around the top of the card the Tip Top Taupe ink and a couple of the wood veneer stars. I then used a die and cut the shape from a parchment looking paper and a Close to My Heart (CTMH) stamp set for the sentiment. You could use any sentiment but this is the one I chose. What do you think?

June Paper Pumpkin alternate card

For the pennant style card I did end up making a feminine version. I used the envelope liner cut down as I had in the previous card. I wanted to use the same large flower stamp in the kit to decorate the printed paper and I had an CTMH ink pad in called Sherbet I thought would give a nice tone on tone look. I then repeated the flower as it appears in the kit. I saved putting a sentiment on it so I can use it at a later date. I did with both cards put the decorative paper up on the dimensional’s.  I really like how the both turned out.

June Paper Pumpkin alternate2

Hope you enjoyed these two alternate cards. Have a crafty day!

I finally got around to posting these cards from my June Paper Pumpkin Kit. Here is the first one.

PP1

And the Oblong pennant style one.

PP2

These were super easy and fun to do. The stamp set is versatile and can be used for a number of occasions.

I did make an alternate card for Father’s Day using the materials in the kit but part of a different stamp kit. I did take a picture of it before I gave it away but the picture was too blurry to use. Thats what I get for being in a hurry and waiting til the last minute to do it. In my next post I will show the teachers cards and bus driver card I did. Until next time, Happy Crafting!

Can you believe we are half way through June already? I am sure that everyone is busily preparing for the end of school year and for summer vacations. I have been making lots of birthday cards for friends and family for June, as well as Teacher cards and some ATC’S as well. The slacker that I am, I clearly have not blogged any of it.

Today though my June Paper Pumpkin came and I thought I post the contents quickly before making the cards.

 Paper Pumpkin June

The title is “Happy Thoughts” You can see the picture of the completed cards here but I will post my own when I get one of each variety done.

Paper Pumpkin June 1

Here are some of the supplies- the stamp colour is Tip Top Taupe. There is dimensional’s and some adhesive dots as well as the jute and pretty clear buttons. The stamp says “Happy thoughts for you” ” Its your day”

Paper Pumpkin June 3

Here is the paper for four cards each of the two different styles. As well as the cool veneer banner shapes.

Can’t wait to dig in and do them up. Will post a picture when I’m done. Hope you are all having a great day wherever you are and Happy Crafting!

Jewlery frame3

My project share this week is a Jewellery Holder/Display. I really wish I would have remembered to take a picture of this project before I painted it but I was so excited to see it transformed myself that I forgot. I purchased it at Value Village. It was just an unfinished pine frame with the decorative top made of metal and painted in a hammered grey paint. Its original purpose was to hold a calendar. I first gave it a light sanding and it was given several coats of white gloss with Tremclad paint.

Jewlery frame 2

I cut down a piece of cardboard to fit inside the frame with a little room to spare and wrapped it with burlap fabric from Michael’s. It might be hard to see in the photo but it has a gold thread running through it. I just use my glue gun to  adhere the fabric to the cardboard and then glued it into the frame.

frame 4

To give the back a more finished look, I used the back of wrapping paper and folded the edges over and glued them to the back of the frame. As well I added the small brass tone bar at the top centre so it can hang on the wall.

Jewlery frame 5

At Christmastime I found these decorative ornament hooks. This was actually the first thing I bought to complete this project.

Jewlery frame 6

This is the project all completed and holding some jewellery. The hooks can be moved around. Hope you like this project! Bye for now and happy crafting.

Paper Pumpkin May

Here are the two crafts you can make with this months (May) Paper Pumpkin kit. One project is a gift bag pictured on the left, and a birthday card and envelope on the right.  I am really enjoying these kits immensely. I started with a 6 month subscription to see how I liked them and for sure this is something I will continue to get. Stay tuned for some alternative projects for this months kit. Happy crafting everyone!

ATC Spring

Finally I have made another ATC. I am calling this one “Spring”. It is number  2 of a 4 part series I am making. The tree is made from twisted wire with two colours of green seed beads to represent buds on the branches. The grass is some twine from an old scrapbooking kit, and the small flowers at the trees base are parts of old jewellery. I like to search thrift shops for odds and ends I can use in my crafting. These were off of a pair of old clip on earrings.

ATC- Winter

This was number 1 of 4 “Winter”. These are super fun to create. They measure 2 1/2 by 3 1/2 inches. There is a great group over on FaceBook called ATC-Inspiration, where people show and some trade with others. You should go check it out. Thats all for today, Happy Crafting.